Managing CL Functions Subscriptions
The Chainlink Functions Subscription Manager is available here. The Functions Subscription Manager lets you create a subscription, add consumers to it, remove consumers from it, fund it with LINK, and delete it.
When you connect to the Subscription Manager, choose the correct network, then click connect wallet.
Subscriptions
You use a Chainlink Functions subscription to pay for, manage, and track Functions requests.
Create a subscription
-
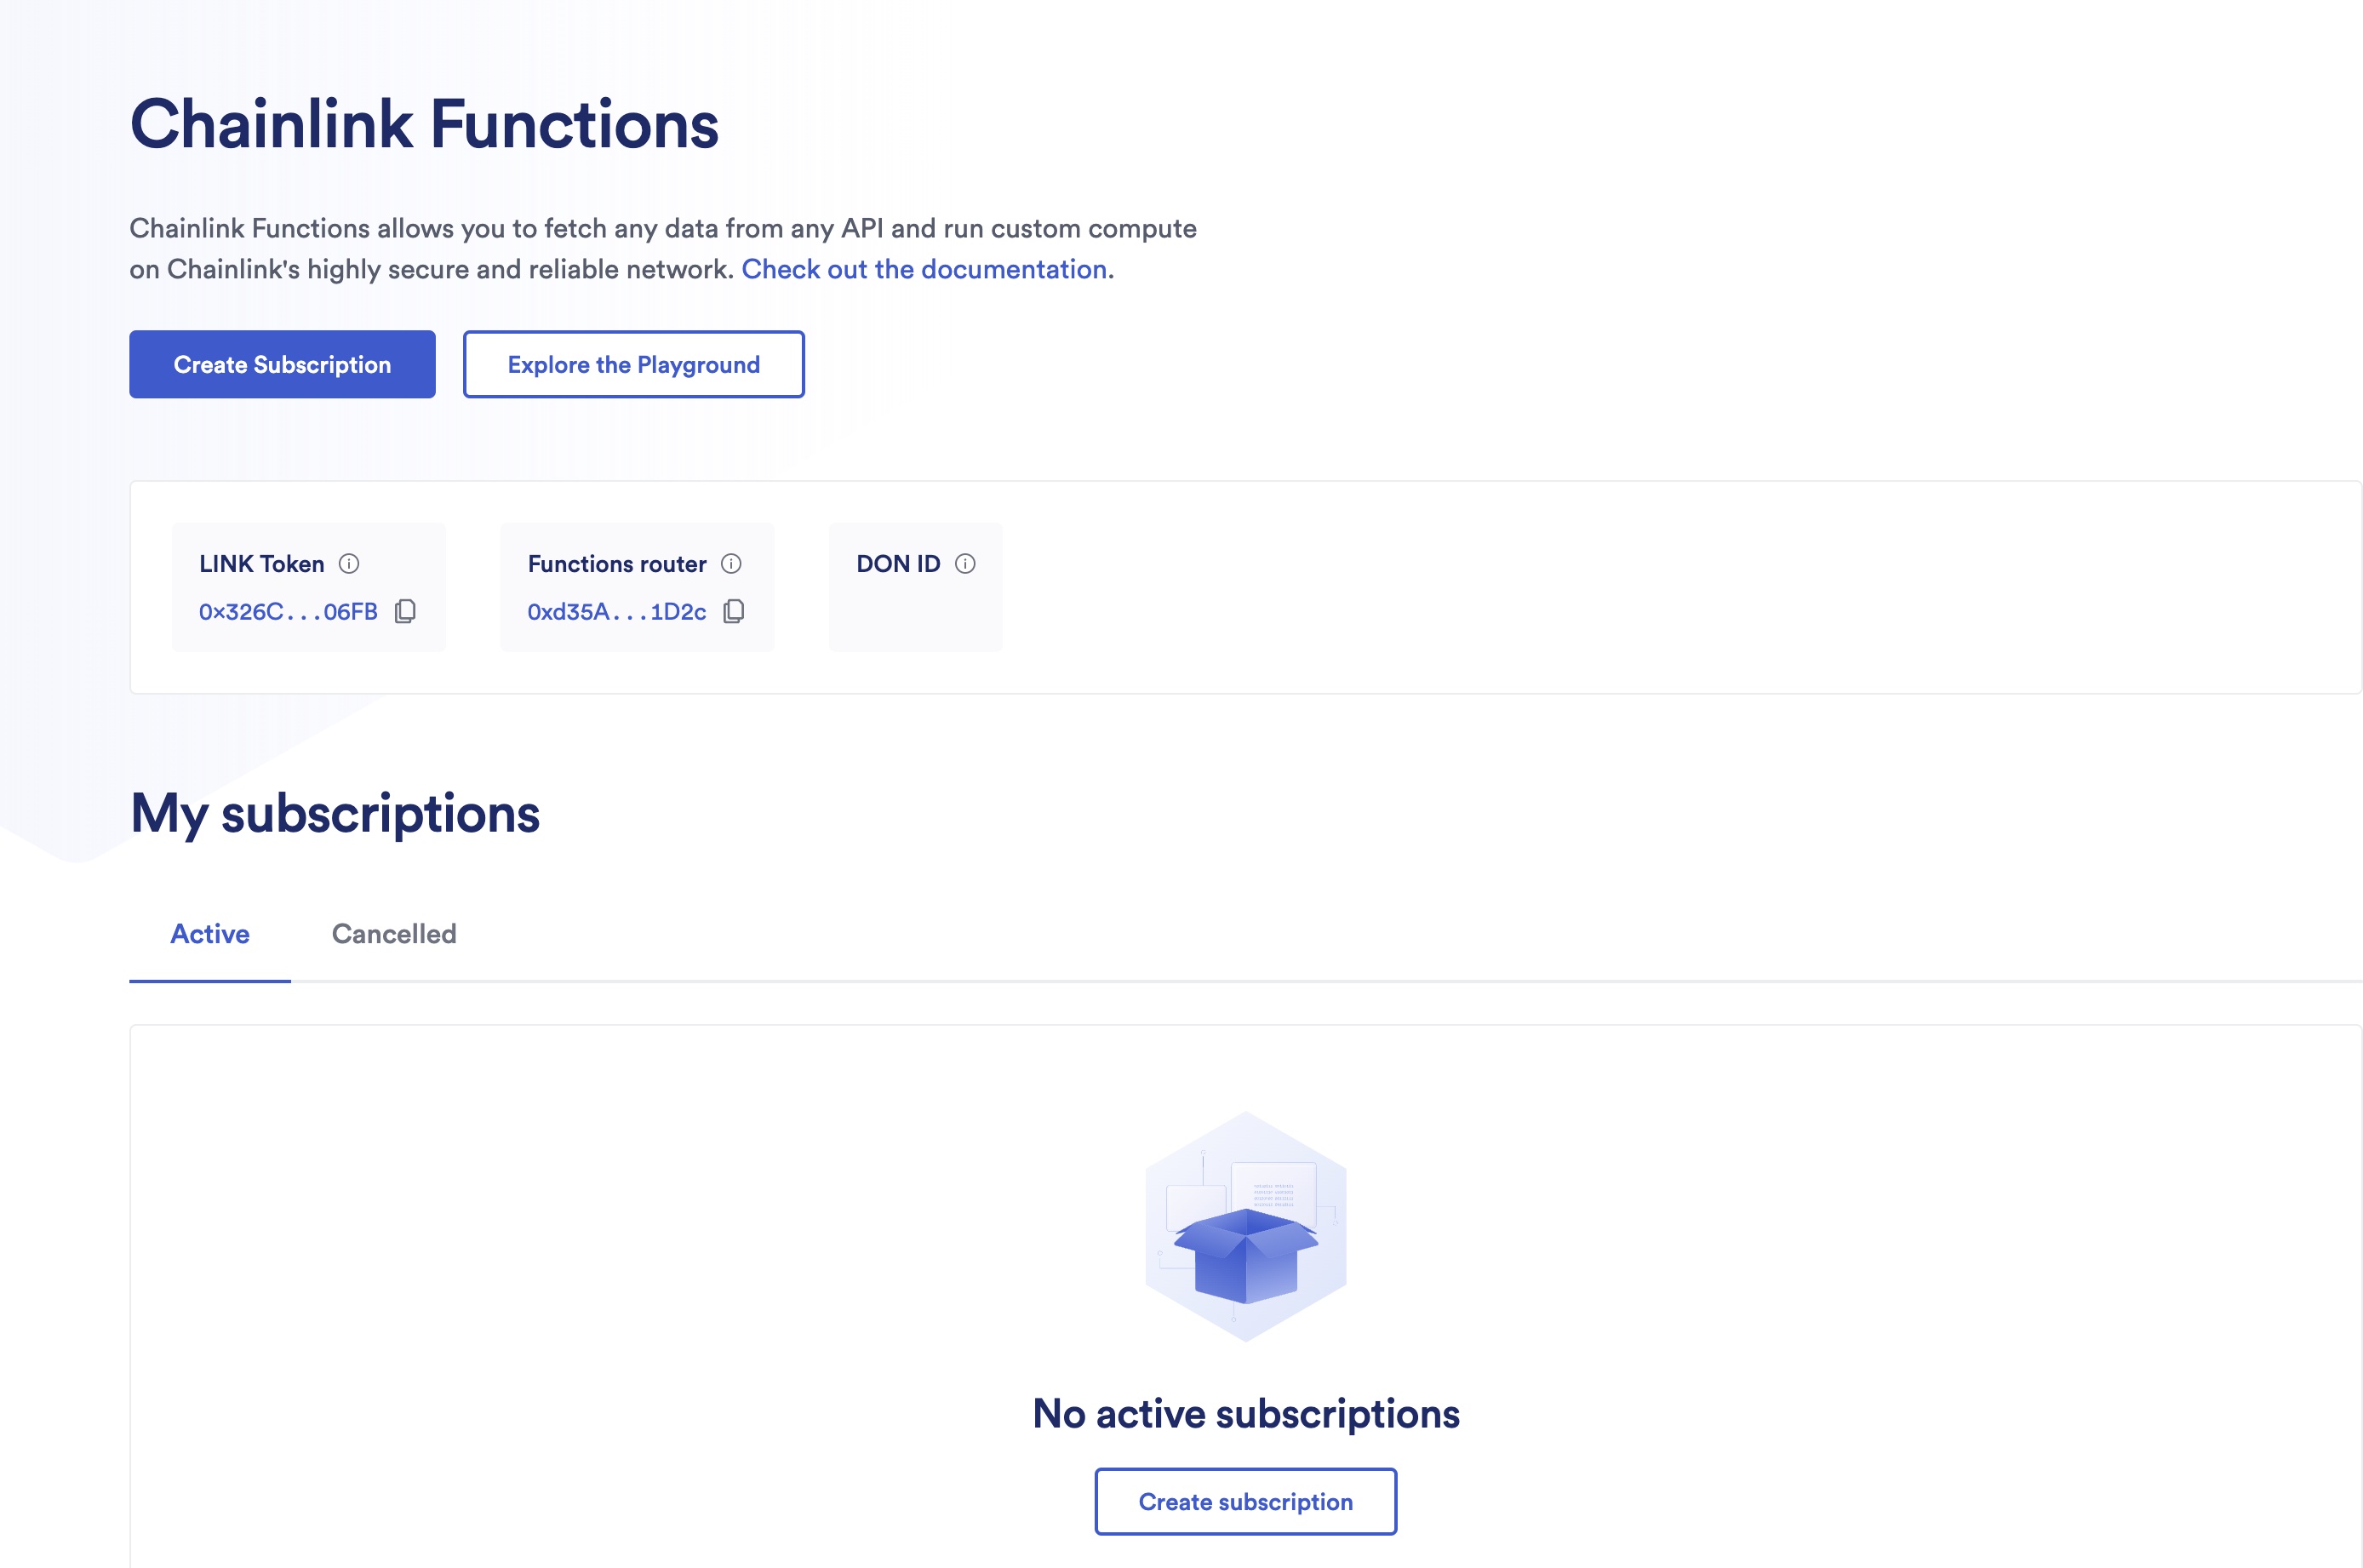
Open functions.chain.link and click Create Subscription:
-
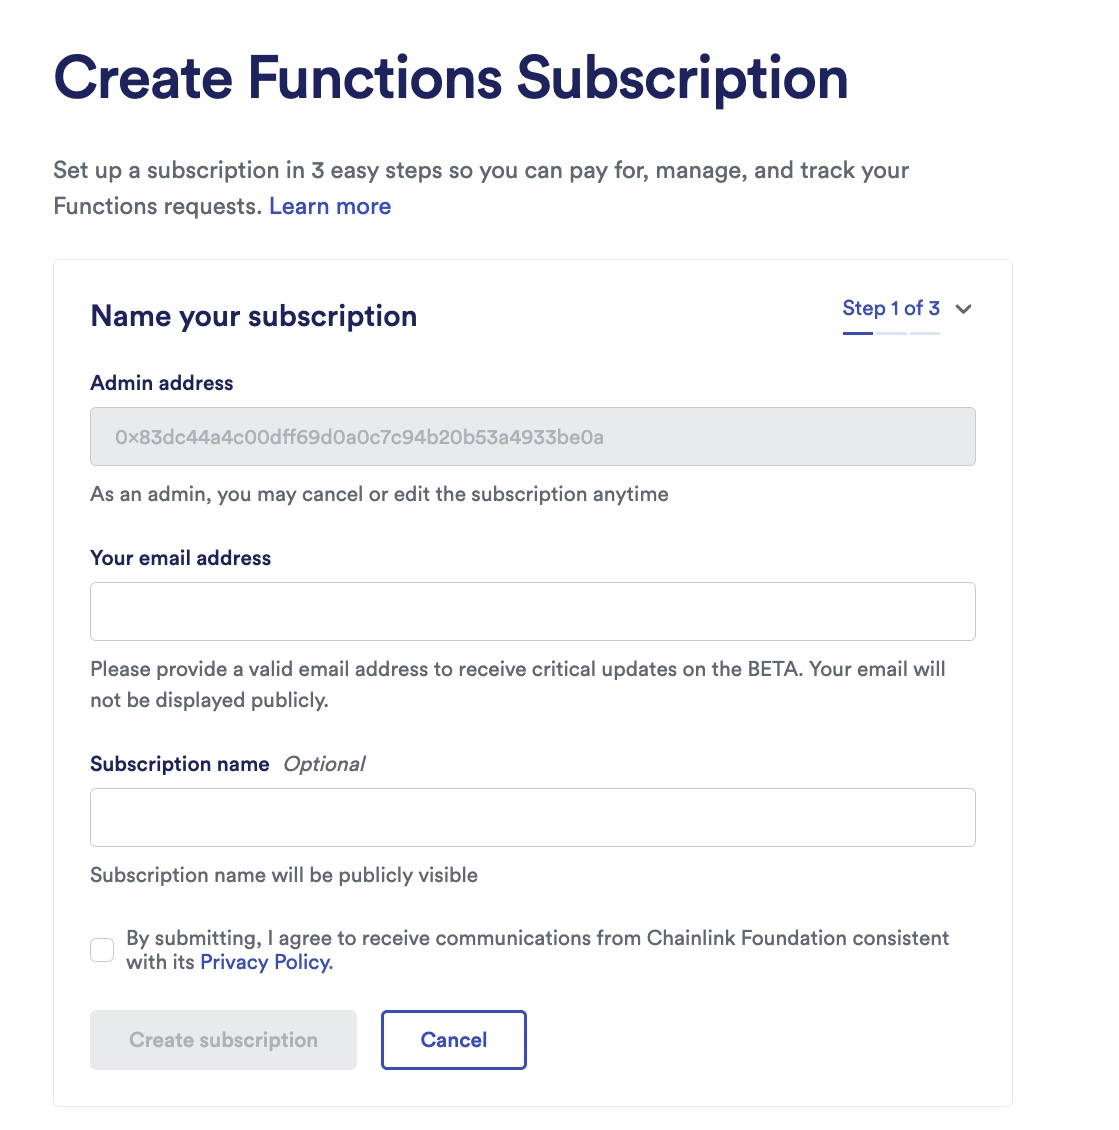
Provide an email address and an optional subscription name:
-
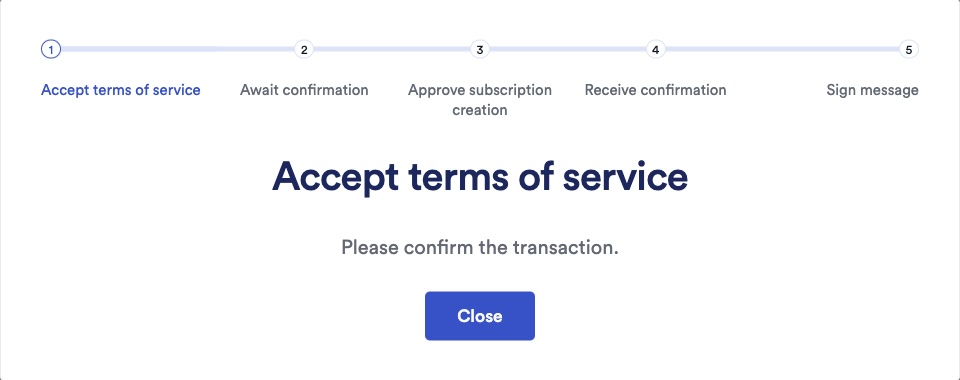
The first time that you interact with the Subscription Manager using your EOA, you have to approve the Terms of Service (ToS):
-
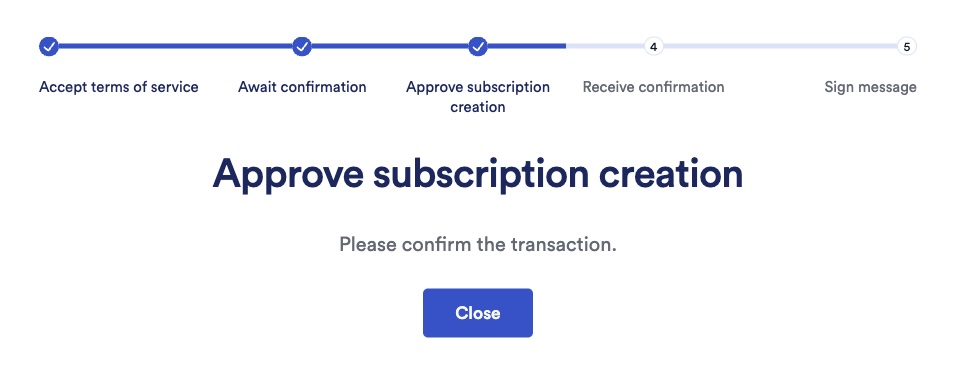
When you approve the ToS, a MetaMask popup appears that asks you to approve the subscription creation:
-
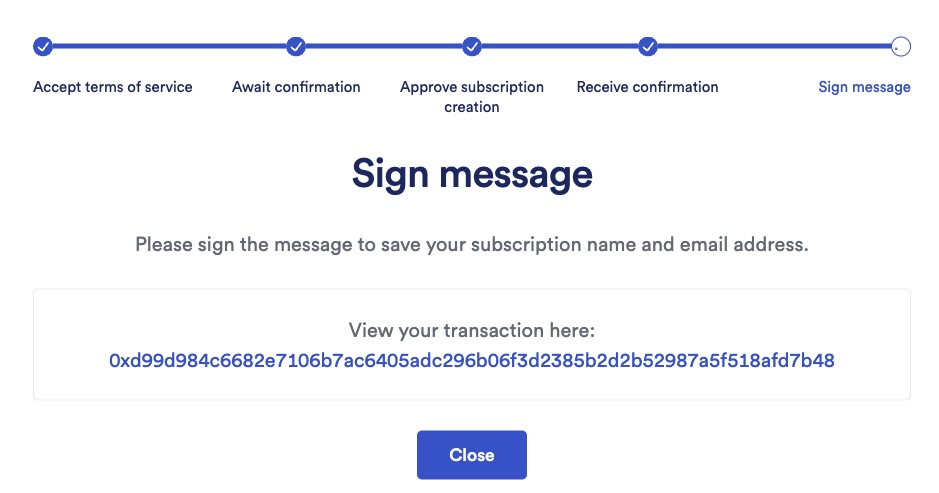
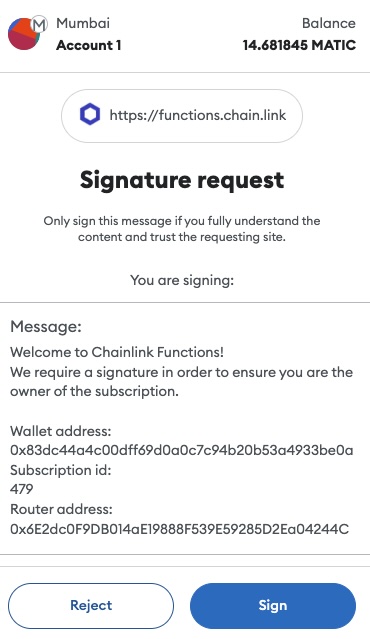
After the subscription is created, you are asked to sign a message in MetaMask to link the subscription name and email address to your subscription:
-
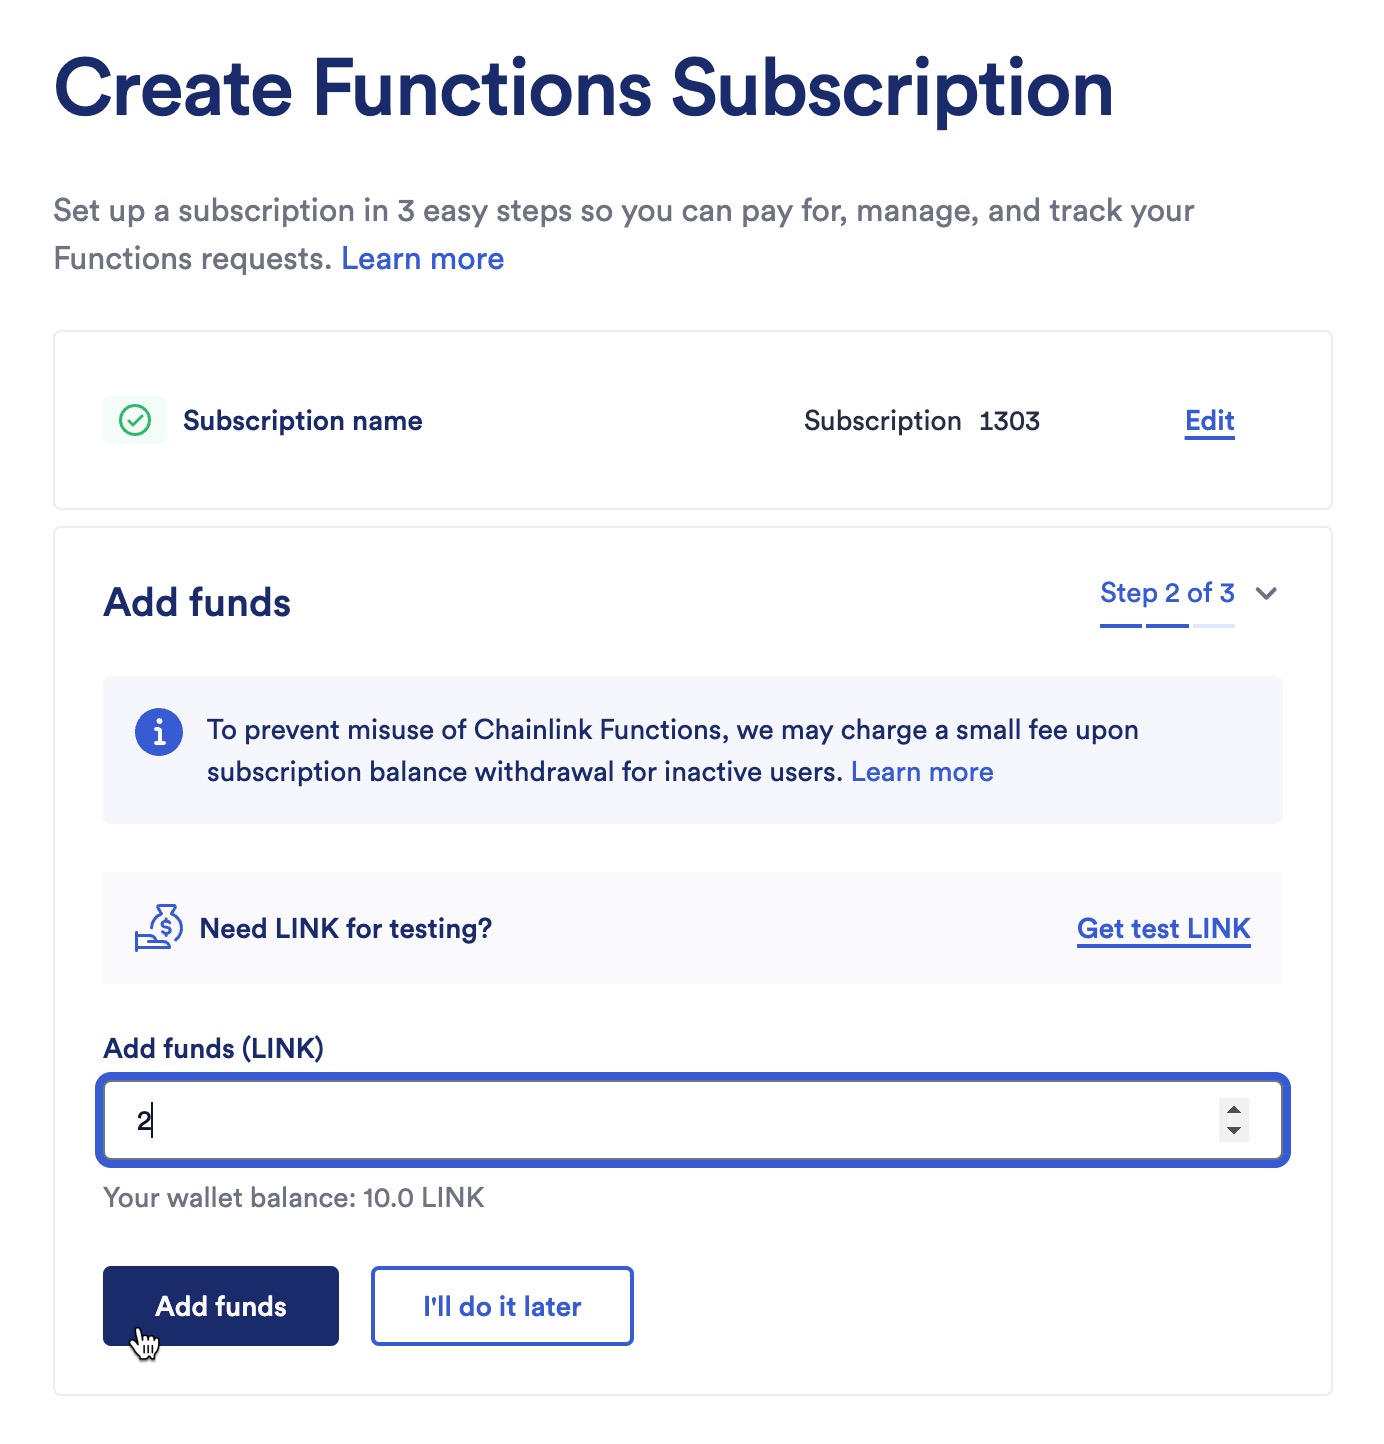
After the subscription is created, fund it with LINK:
-
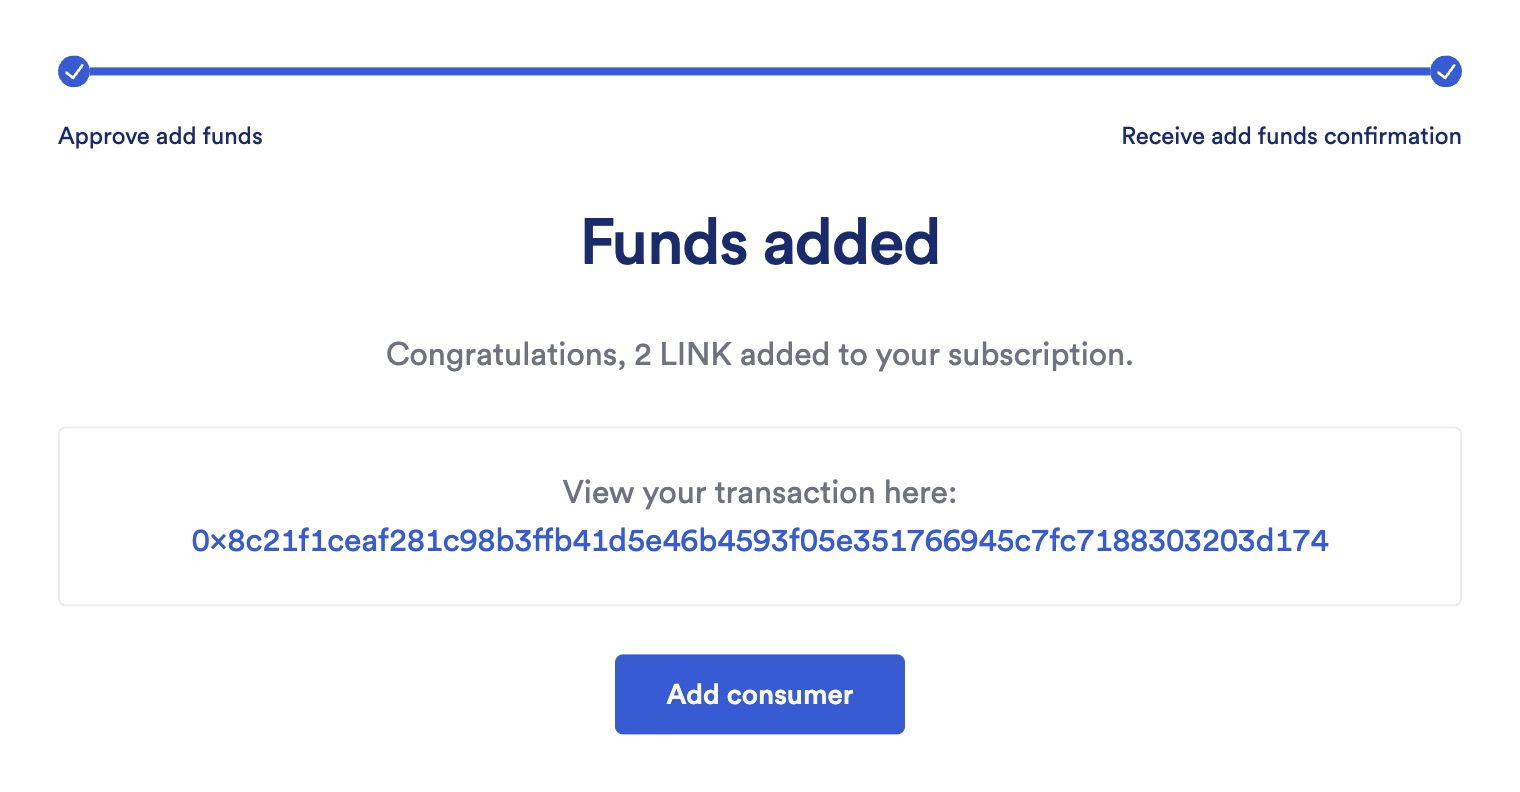
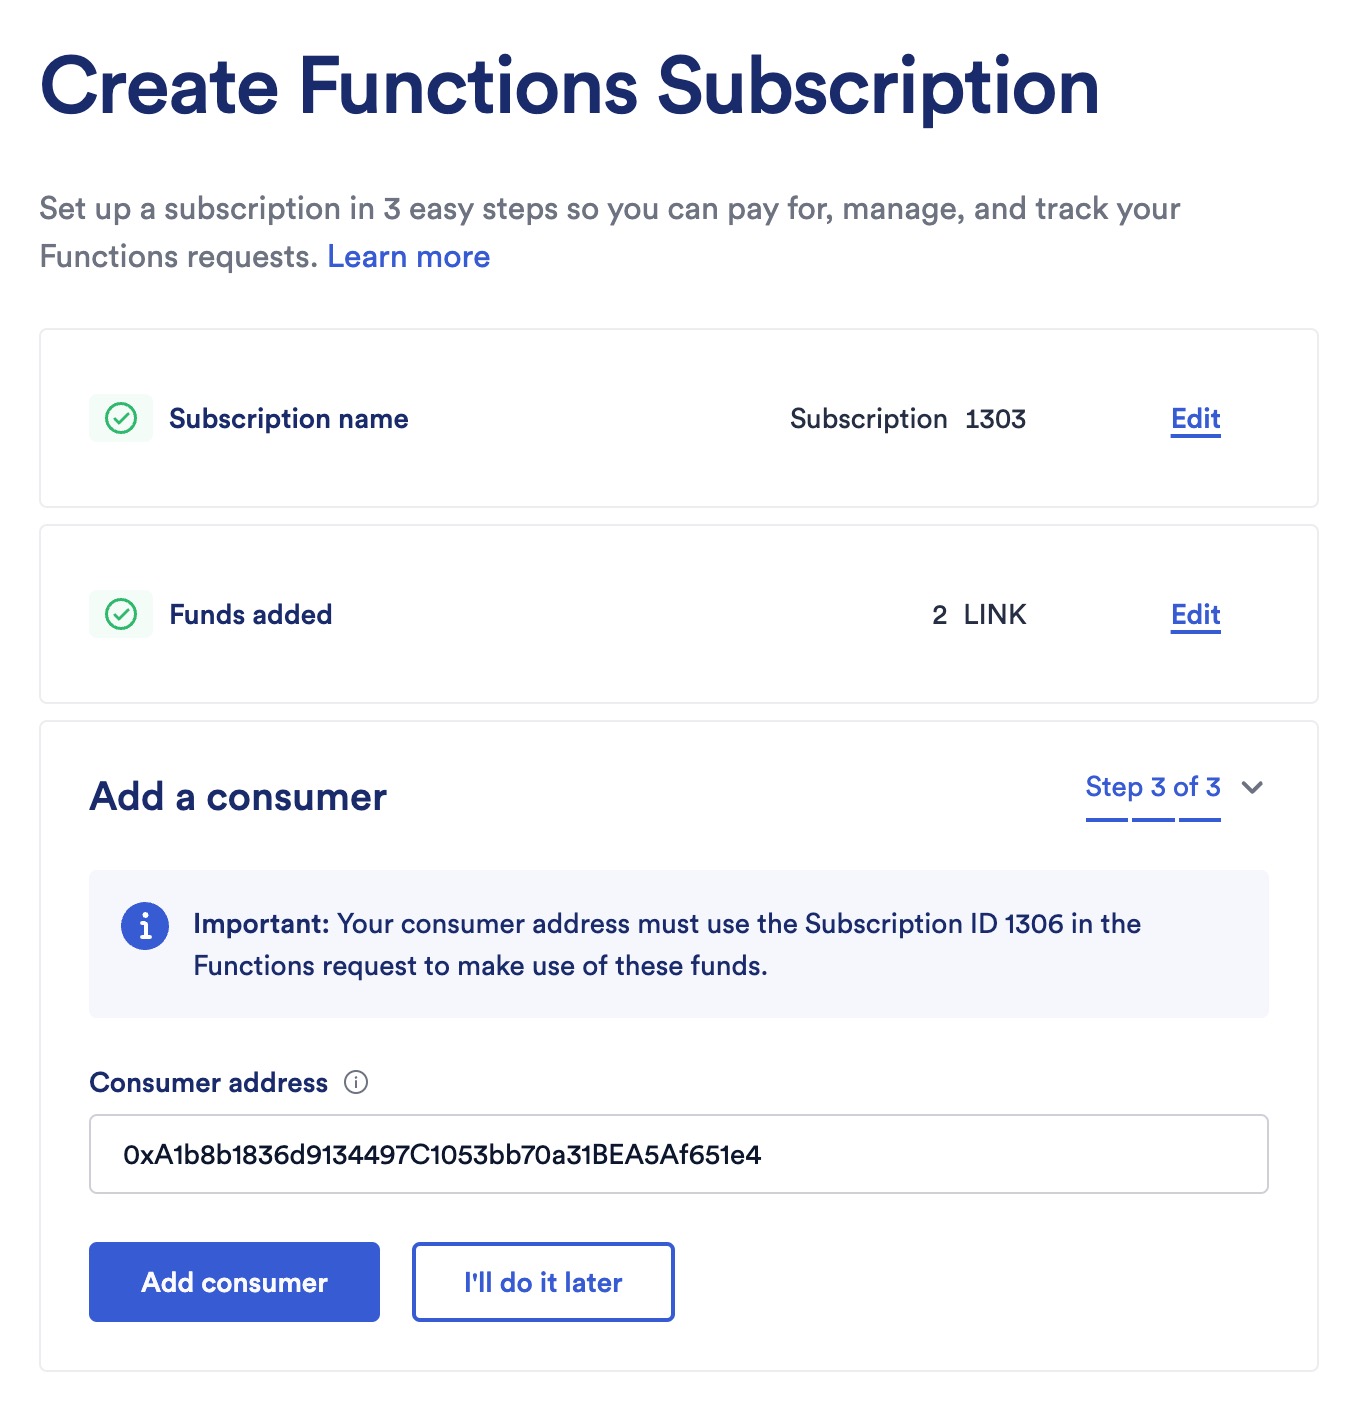
After funding, you can add a consumer to it:
-
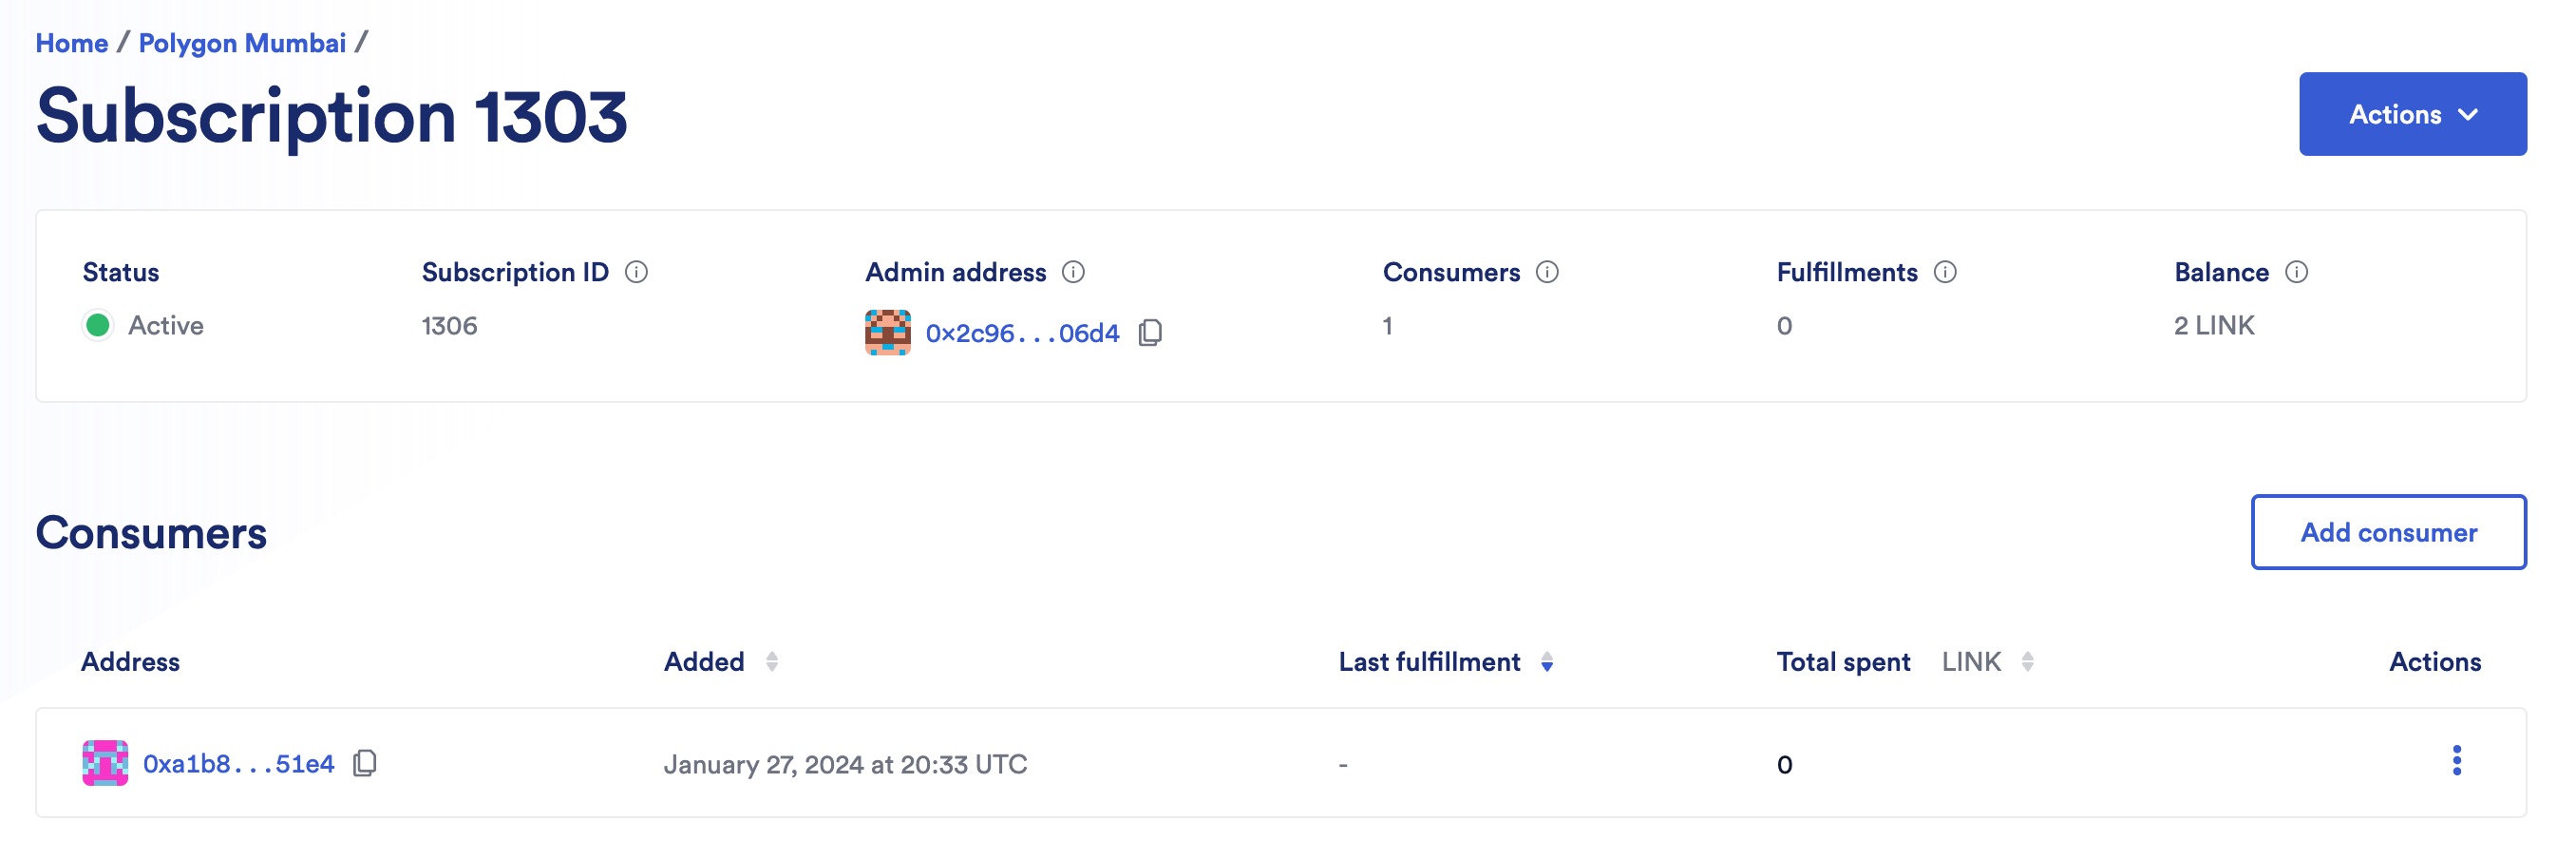
After creation, you can fetch the details of your subscription:
Fund a subscription
-
Open your subscription details and click Actions then click Fund subscription:

-
Fund your subscription. For instance, 0.1 LINK:

-
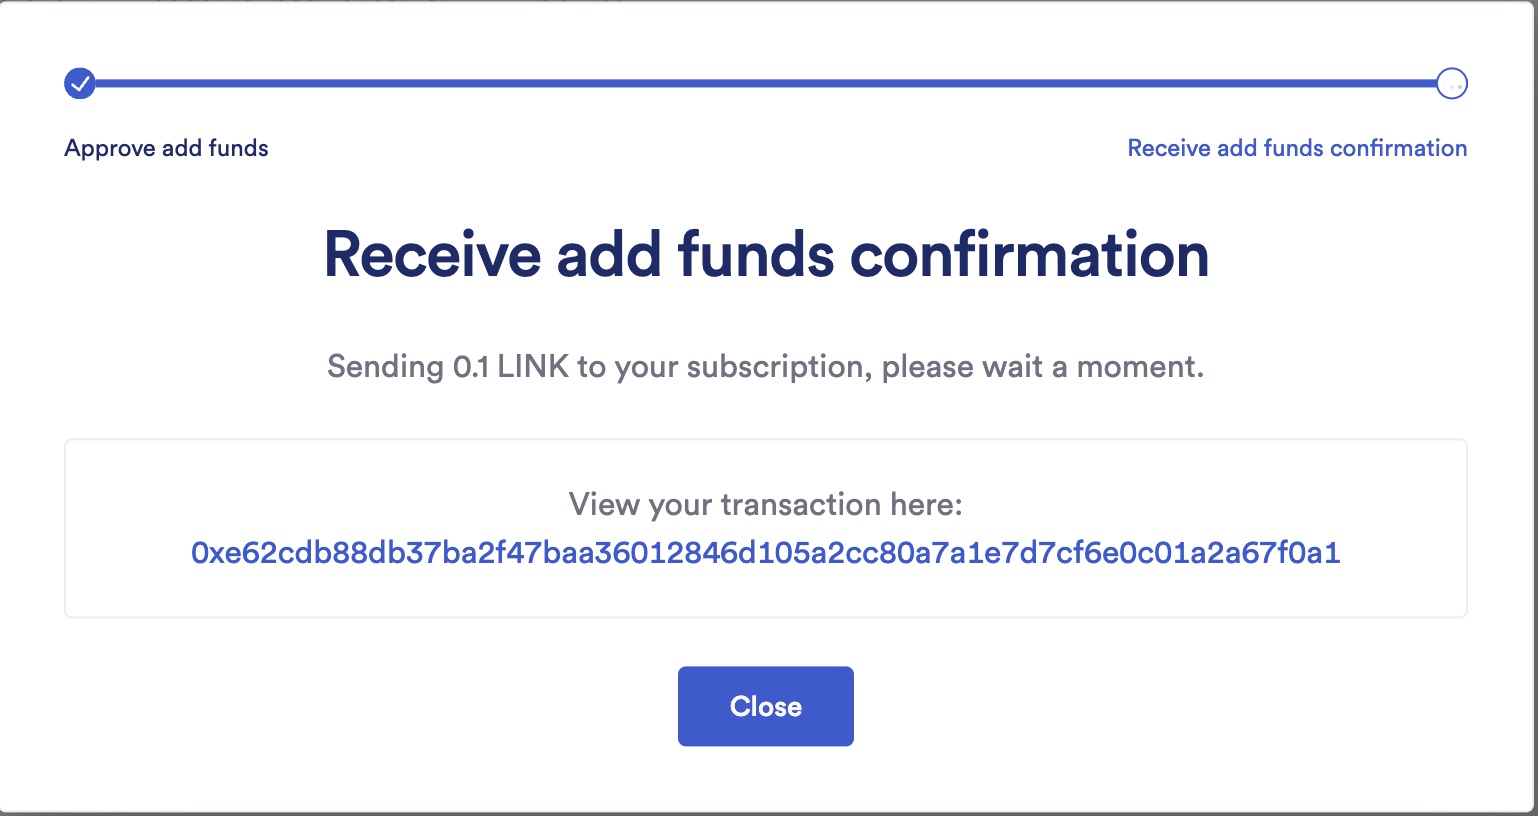
A MetaMask popup appears, and you are asked to confirm the transaction. After you confirm the transaction, a confirmation screen appears:
Add a consumer contract to a subscription
-
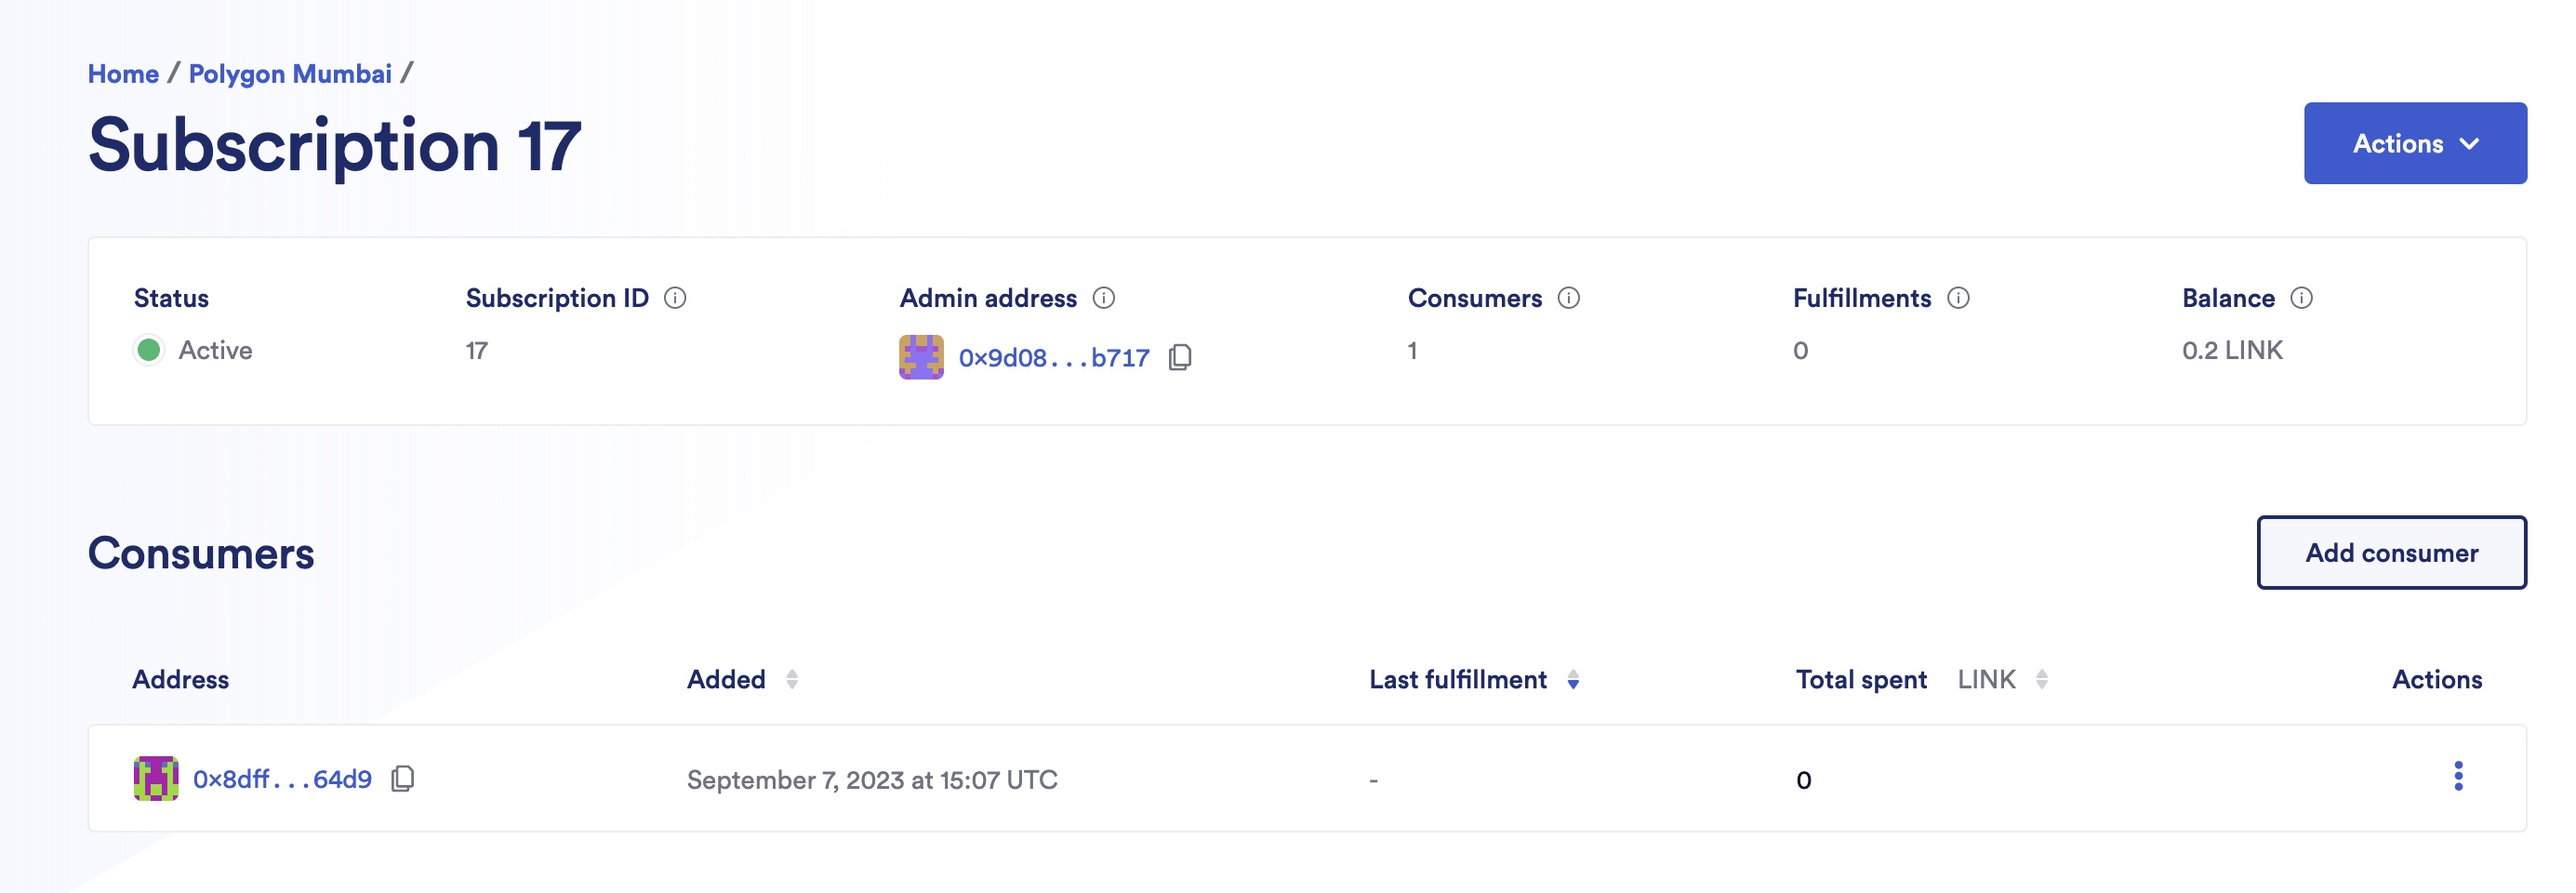
Open your subscription details and click Add Consumer:
-
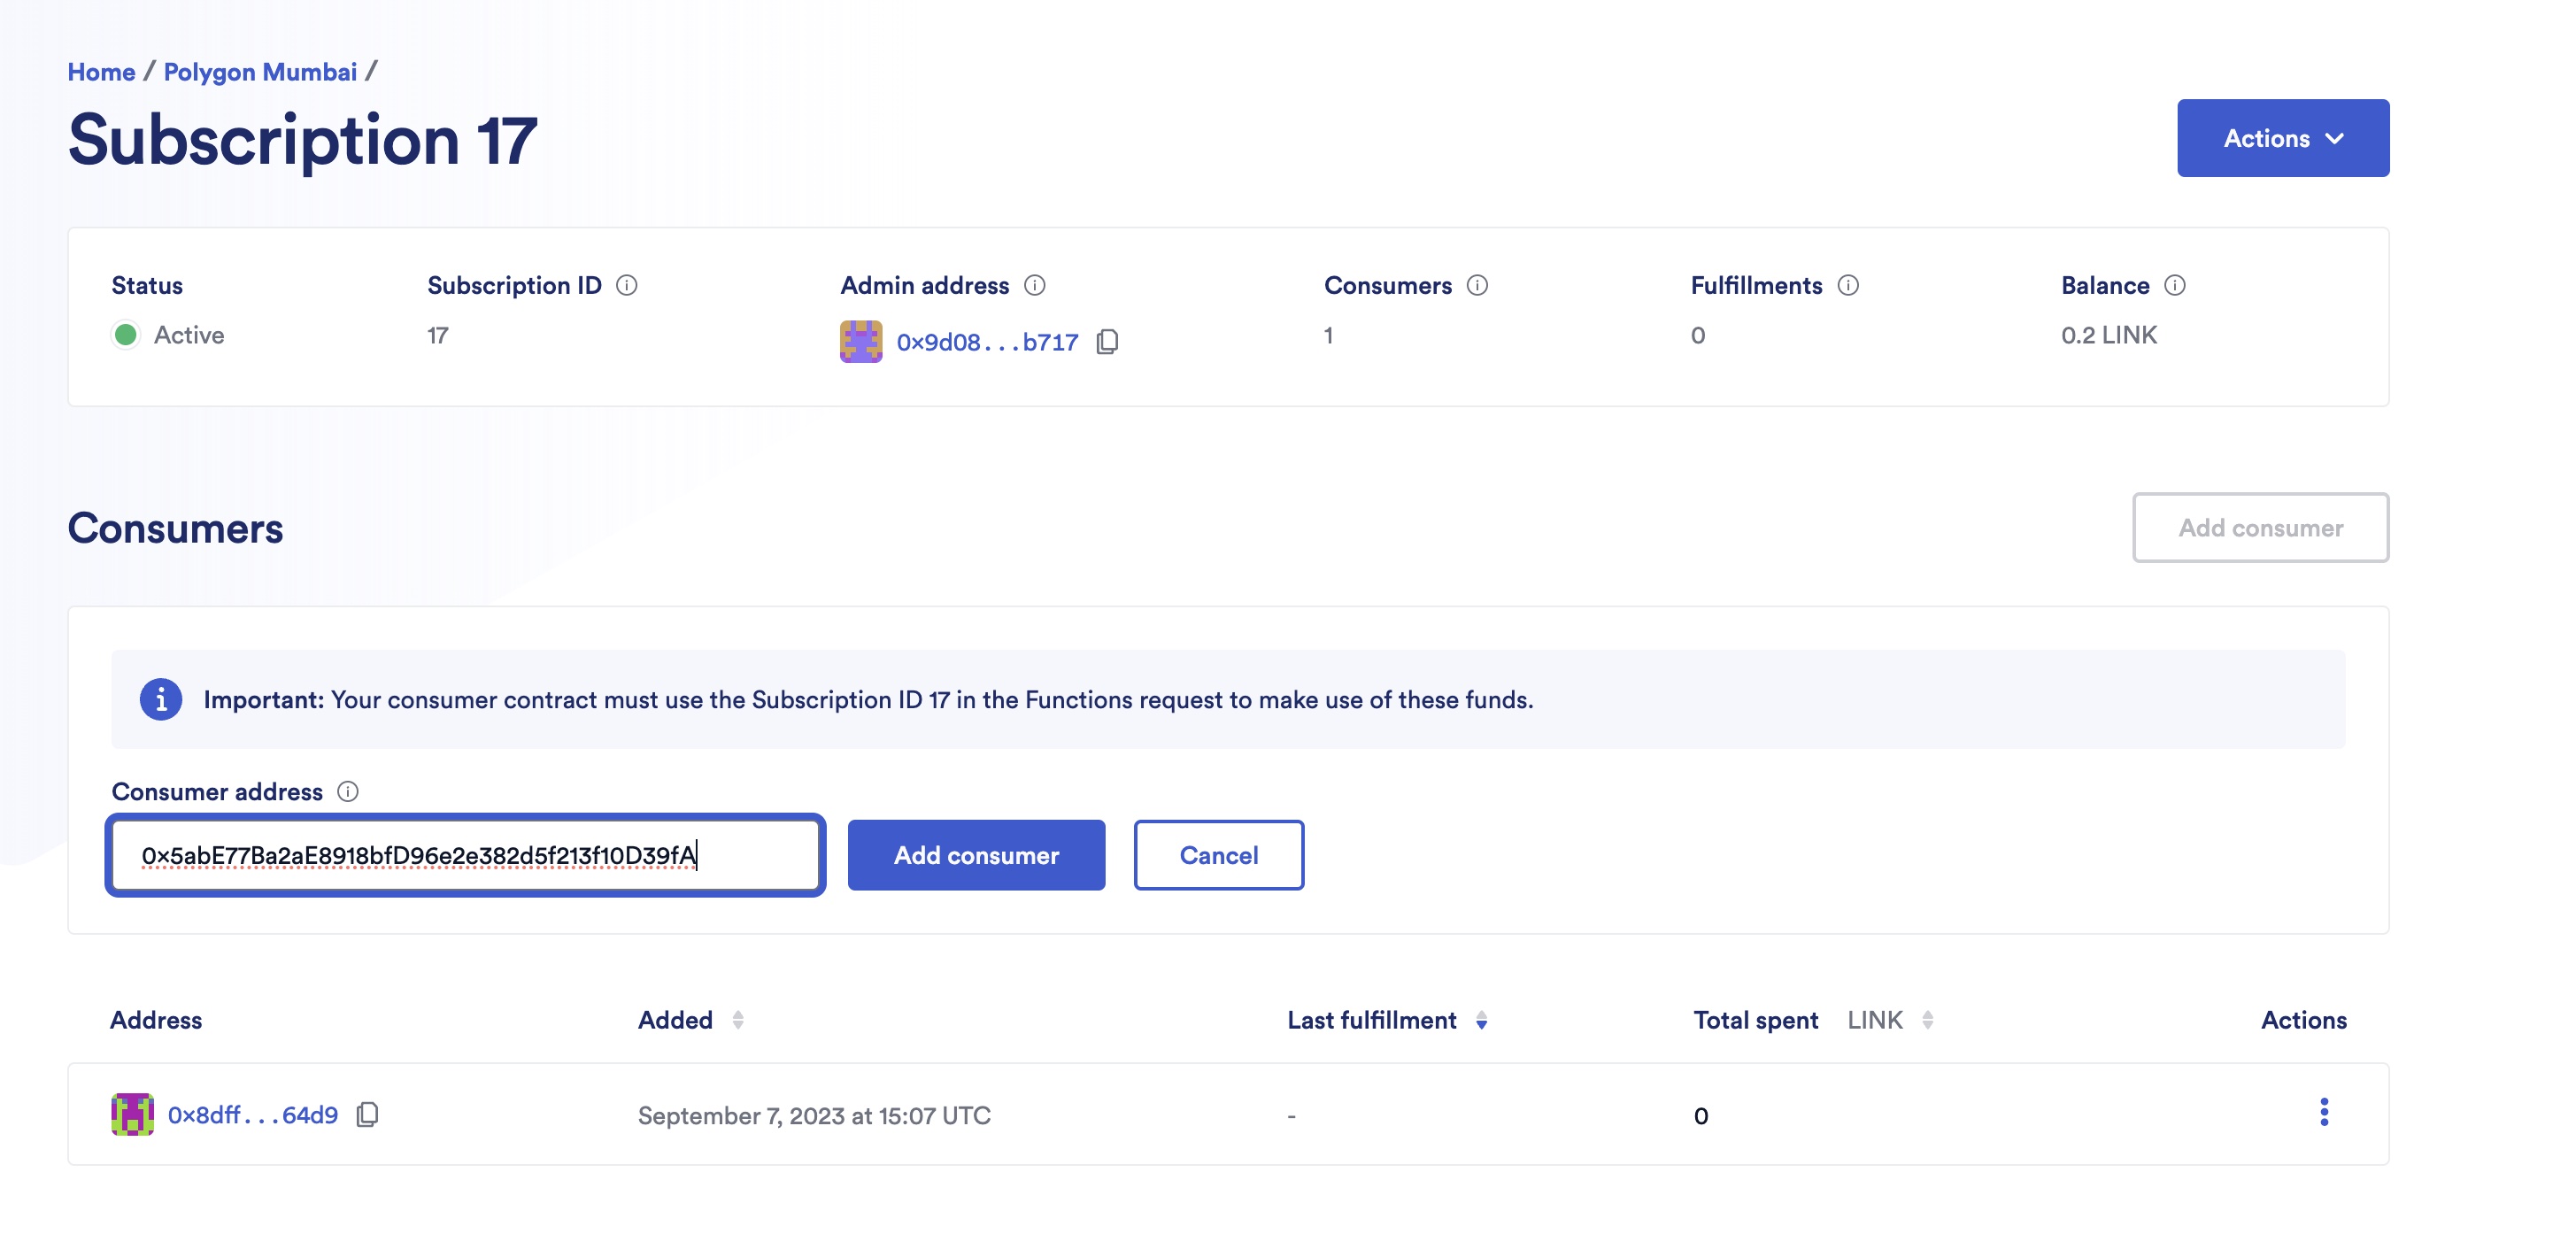
Fill in the consumer address:
-
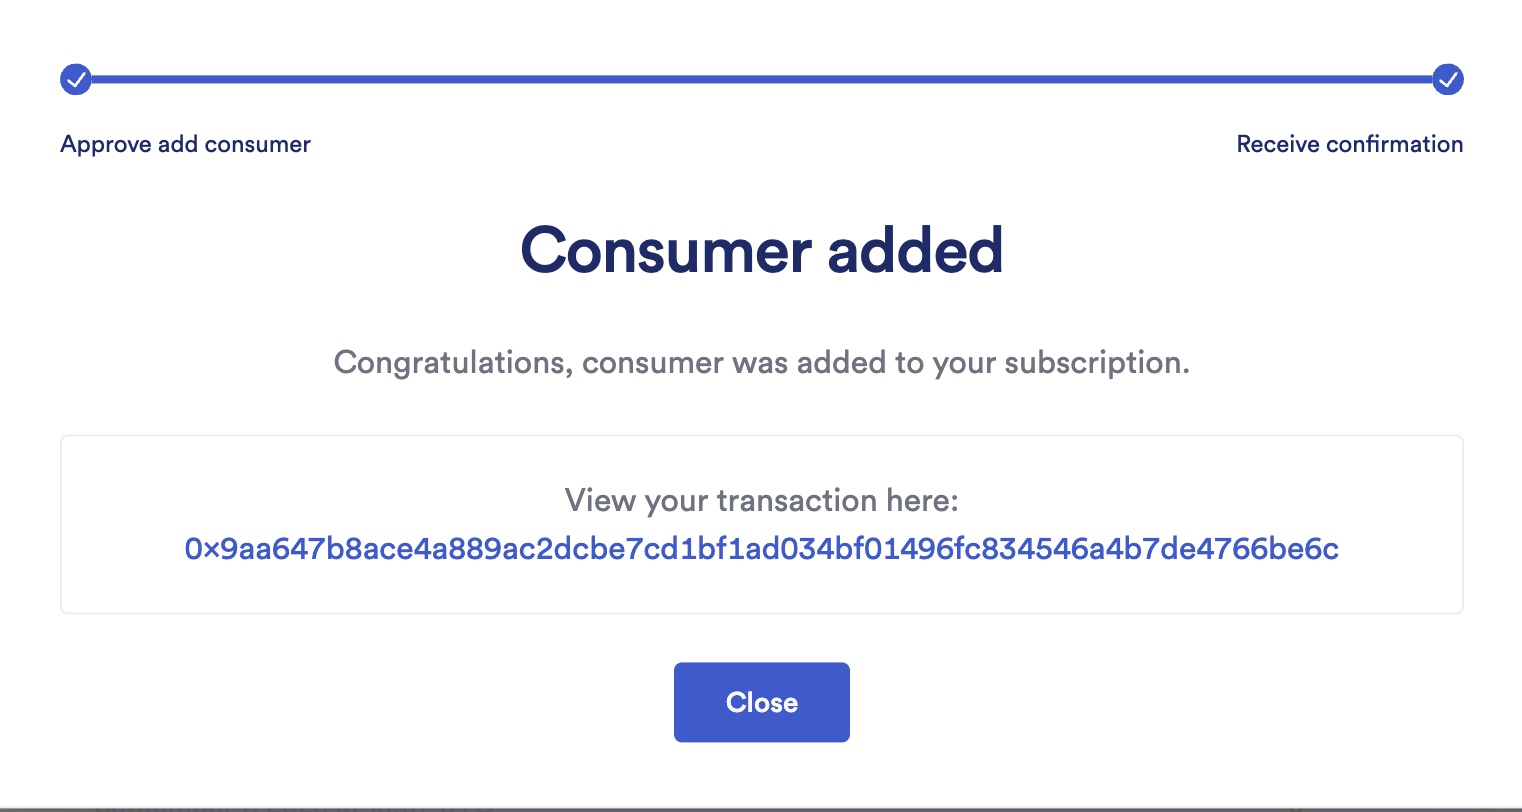
A MetaMask popup appears, and you are asked to confirm the transaction. After you confirm the transaction, a confirmation screen appears:
Remove a consumer contract from a subscription
-
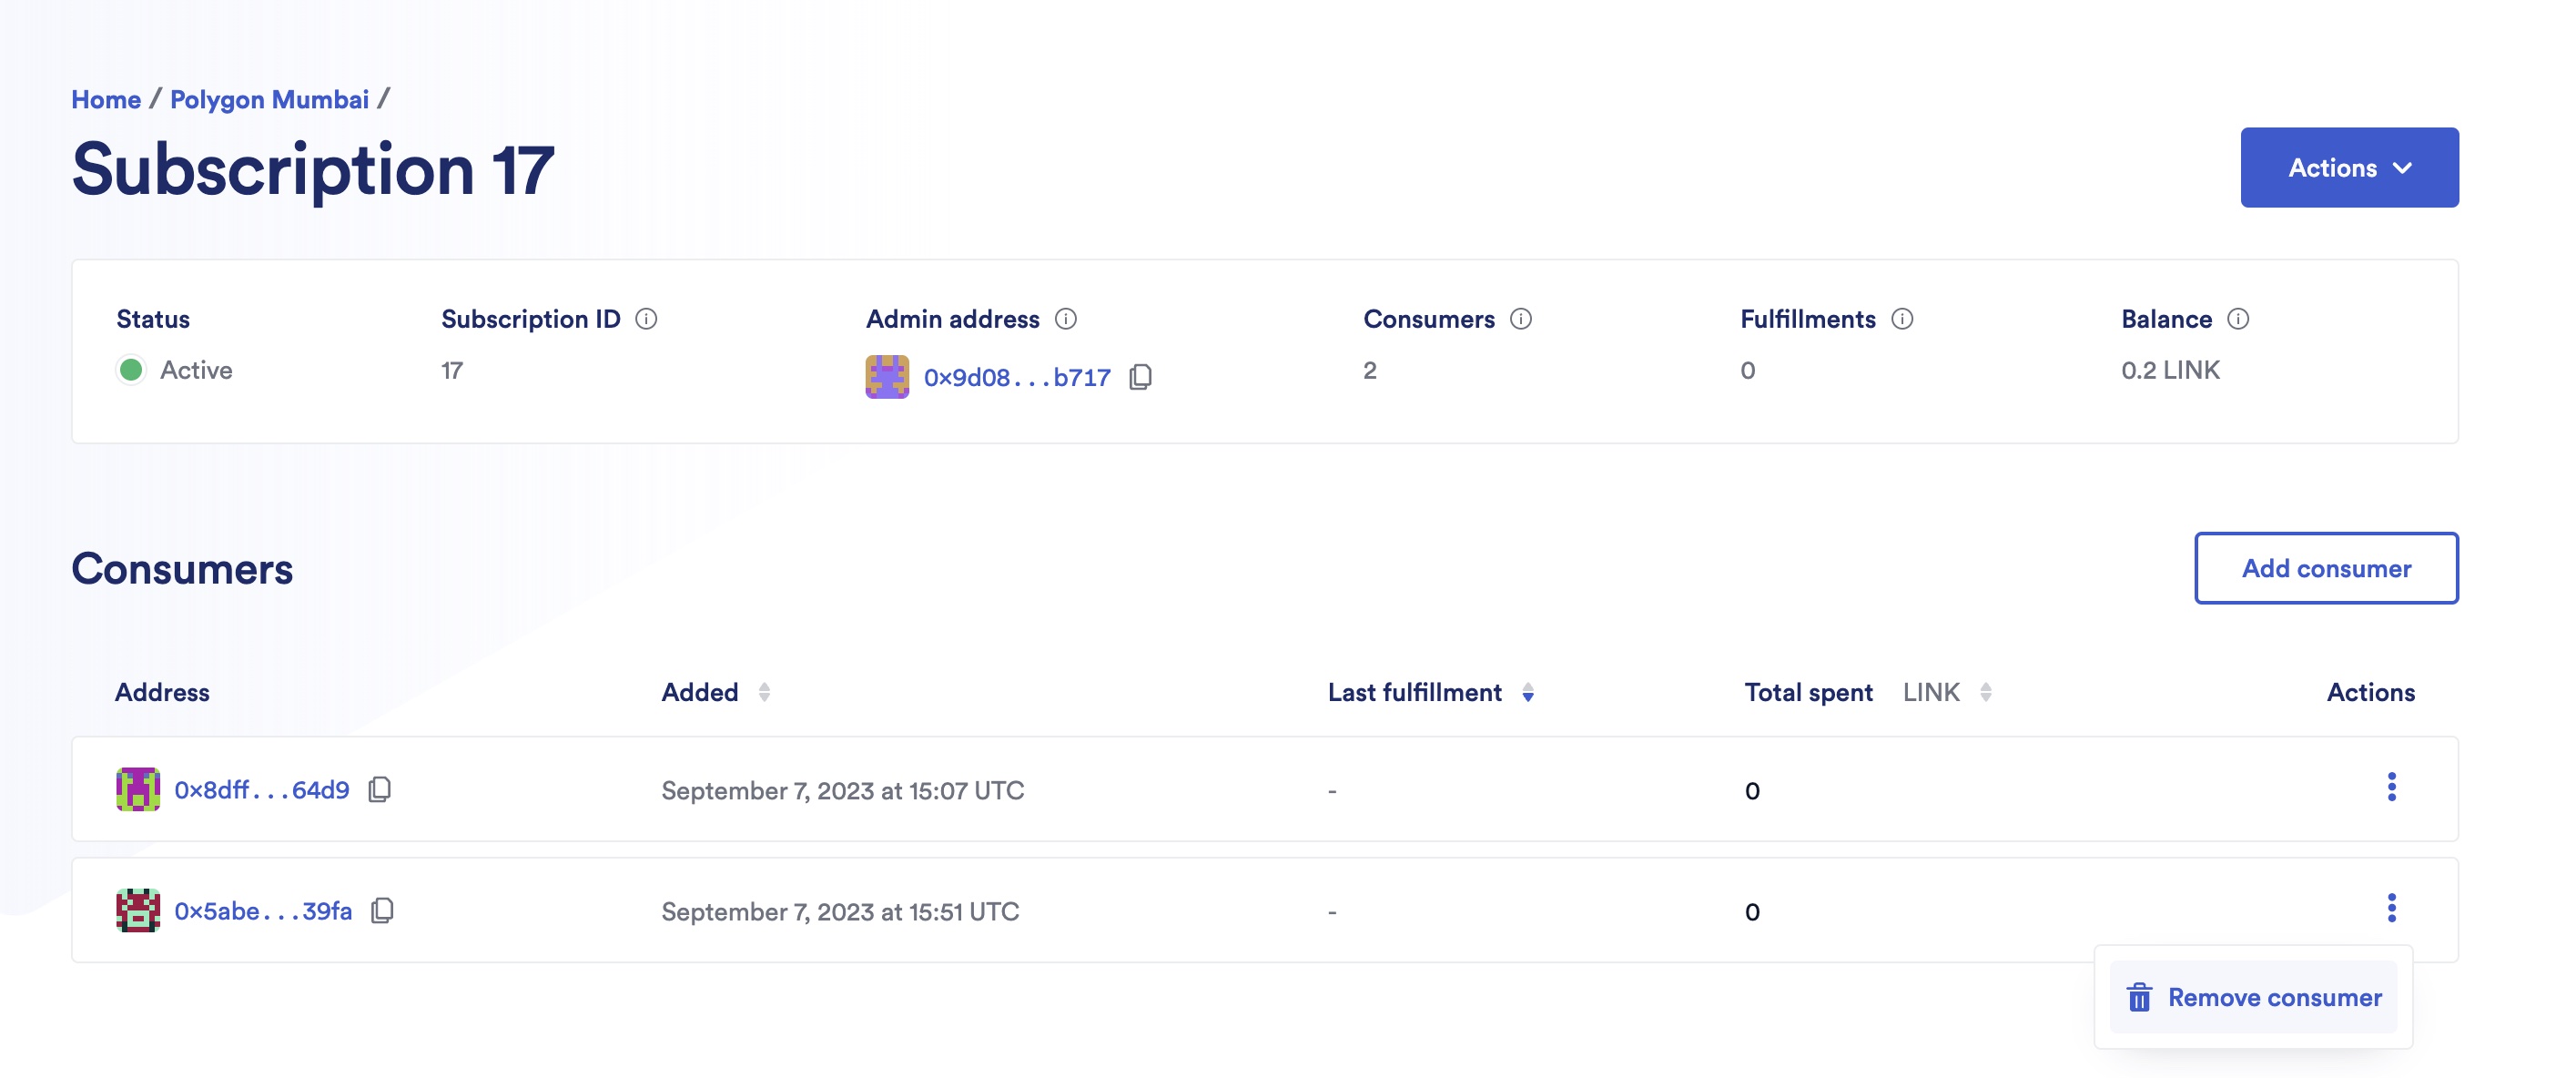
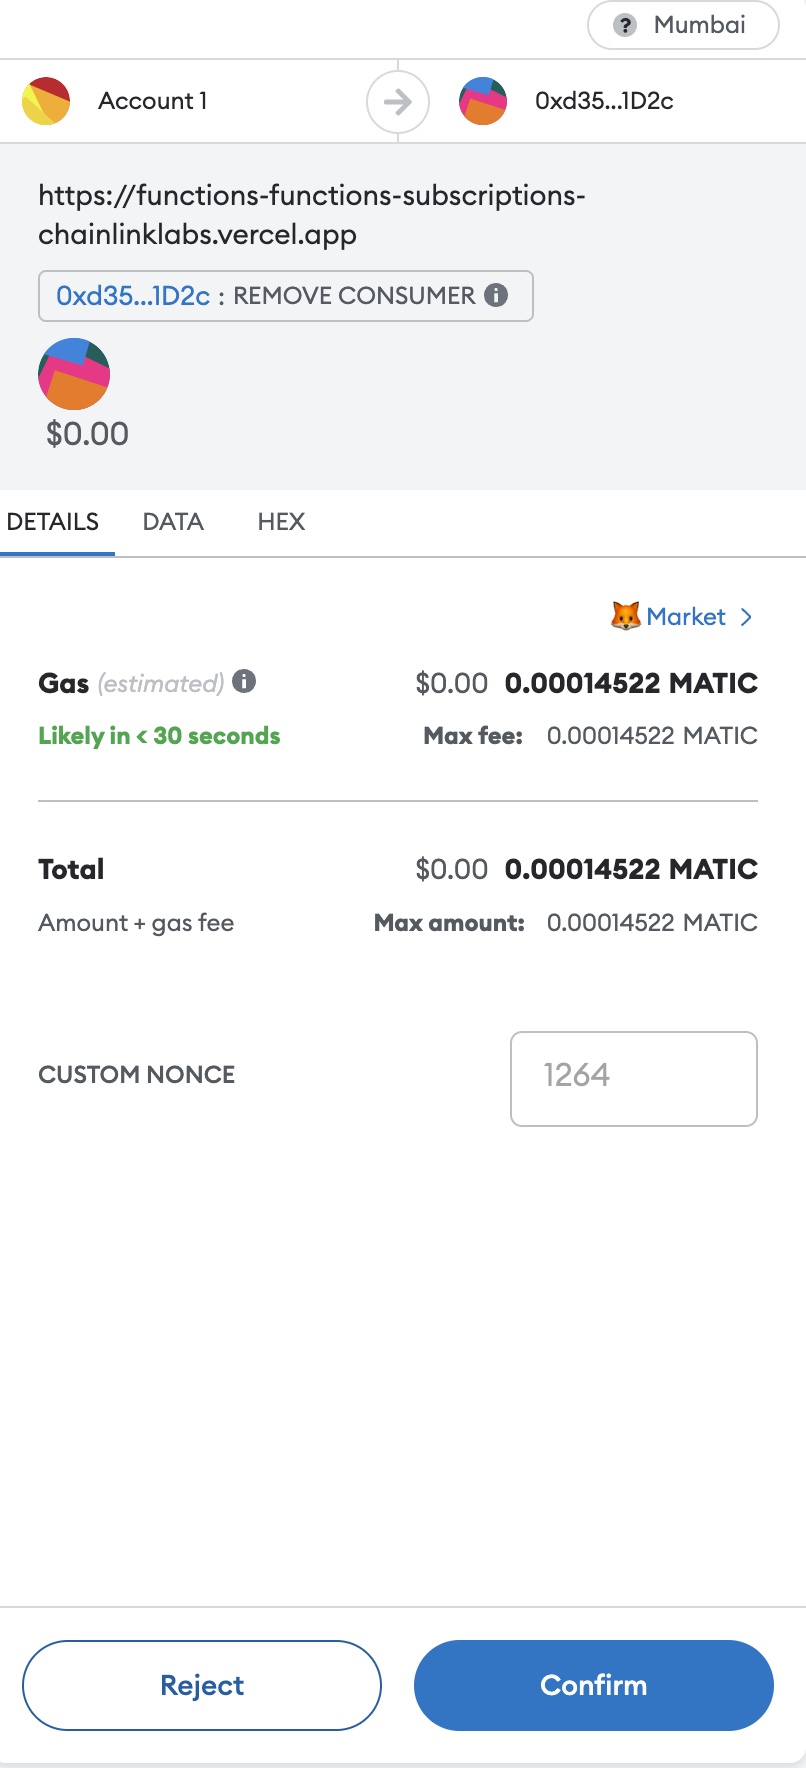
Open your subscription details and click the consumer you want to remove, then Remove Consumer:
-
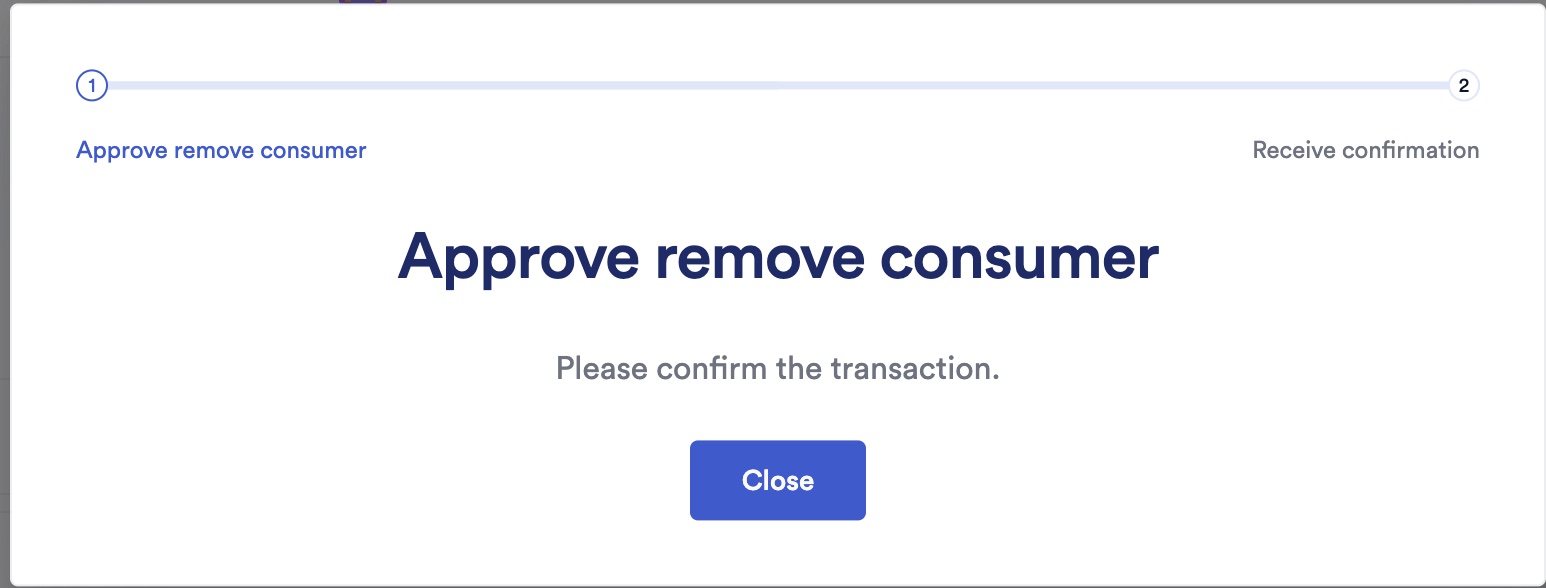
A MetaMask popup appears, and you are asked to confirm the transaction.
-
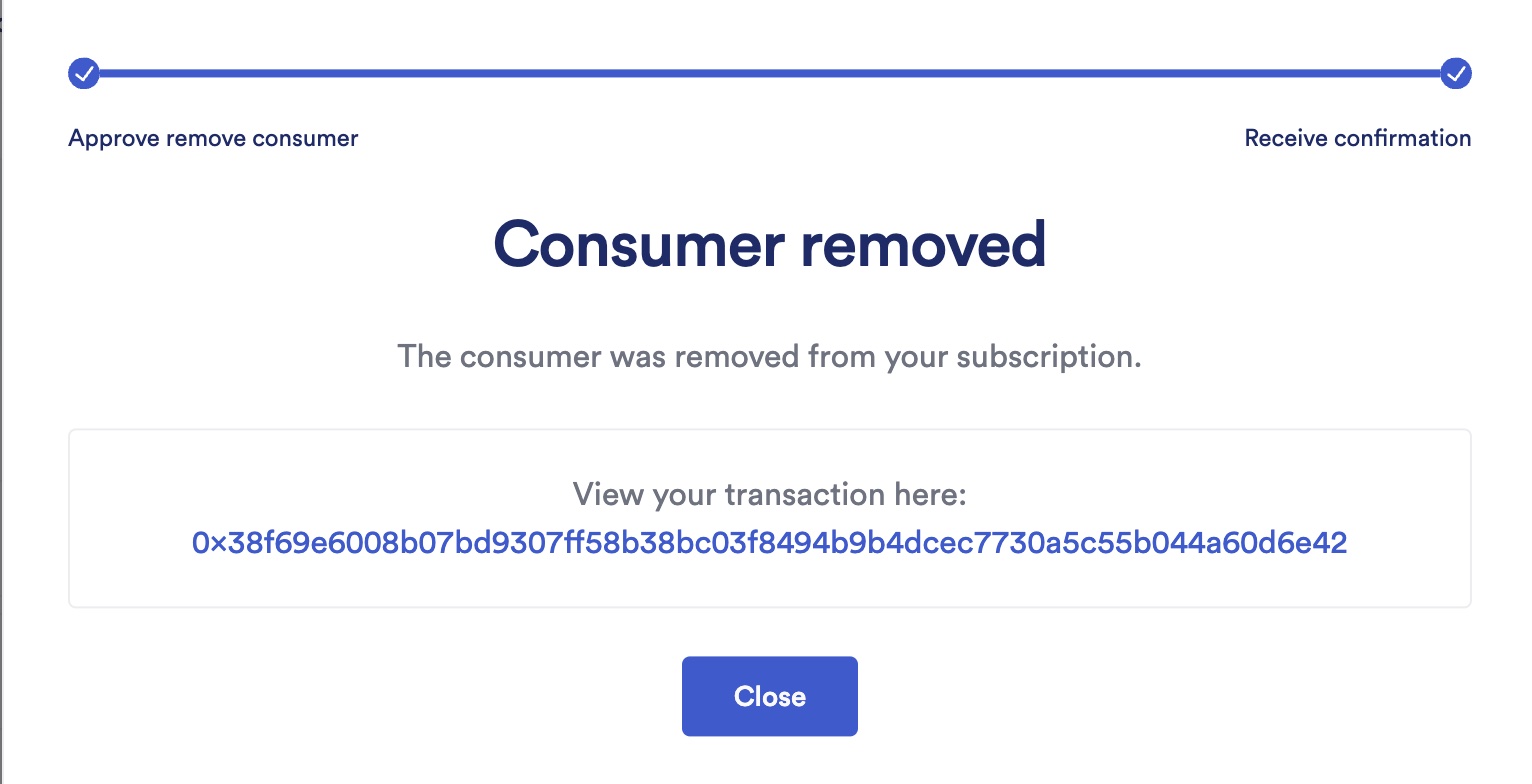
After you confirm the transaction, a confirmation screen appears:
Cancel a subscription
Note: You cannot cancel a subscription if there are in-flight requests. In-flight requests are requests that still need to be fulfilled.
-
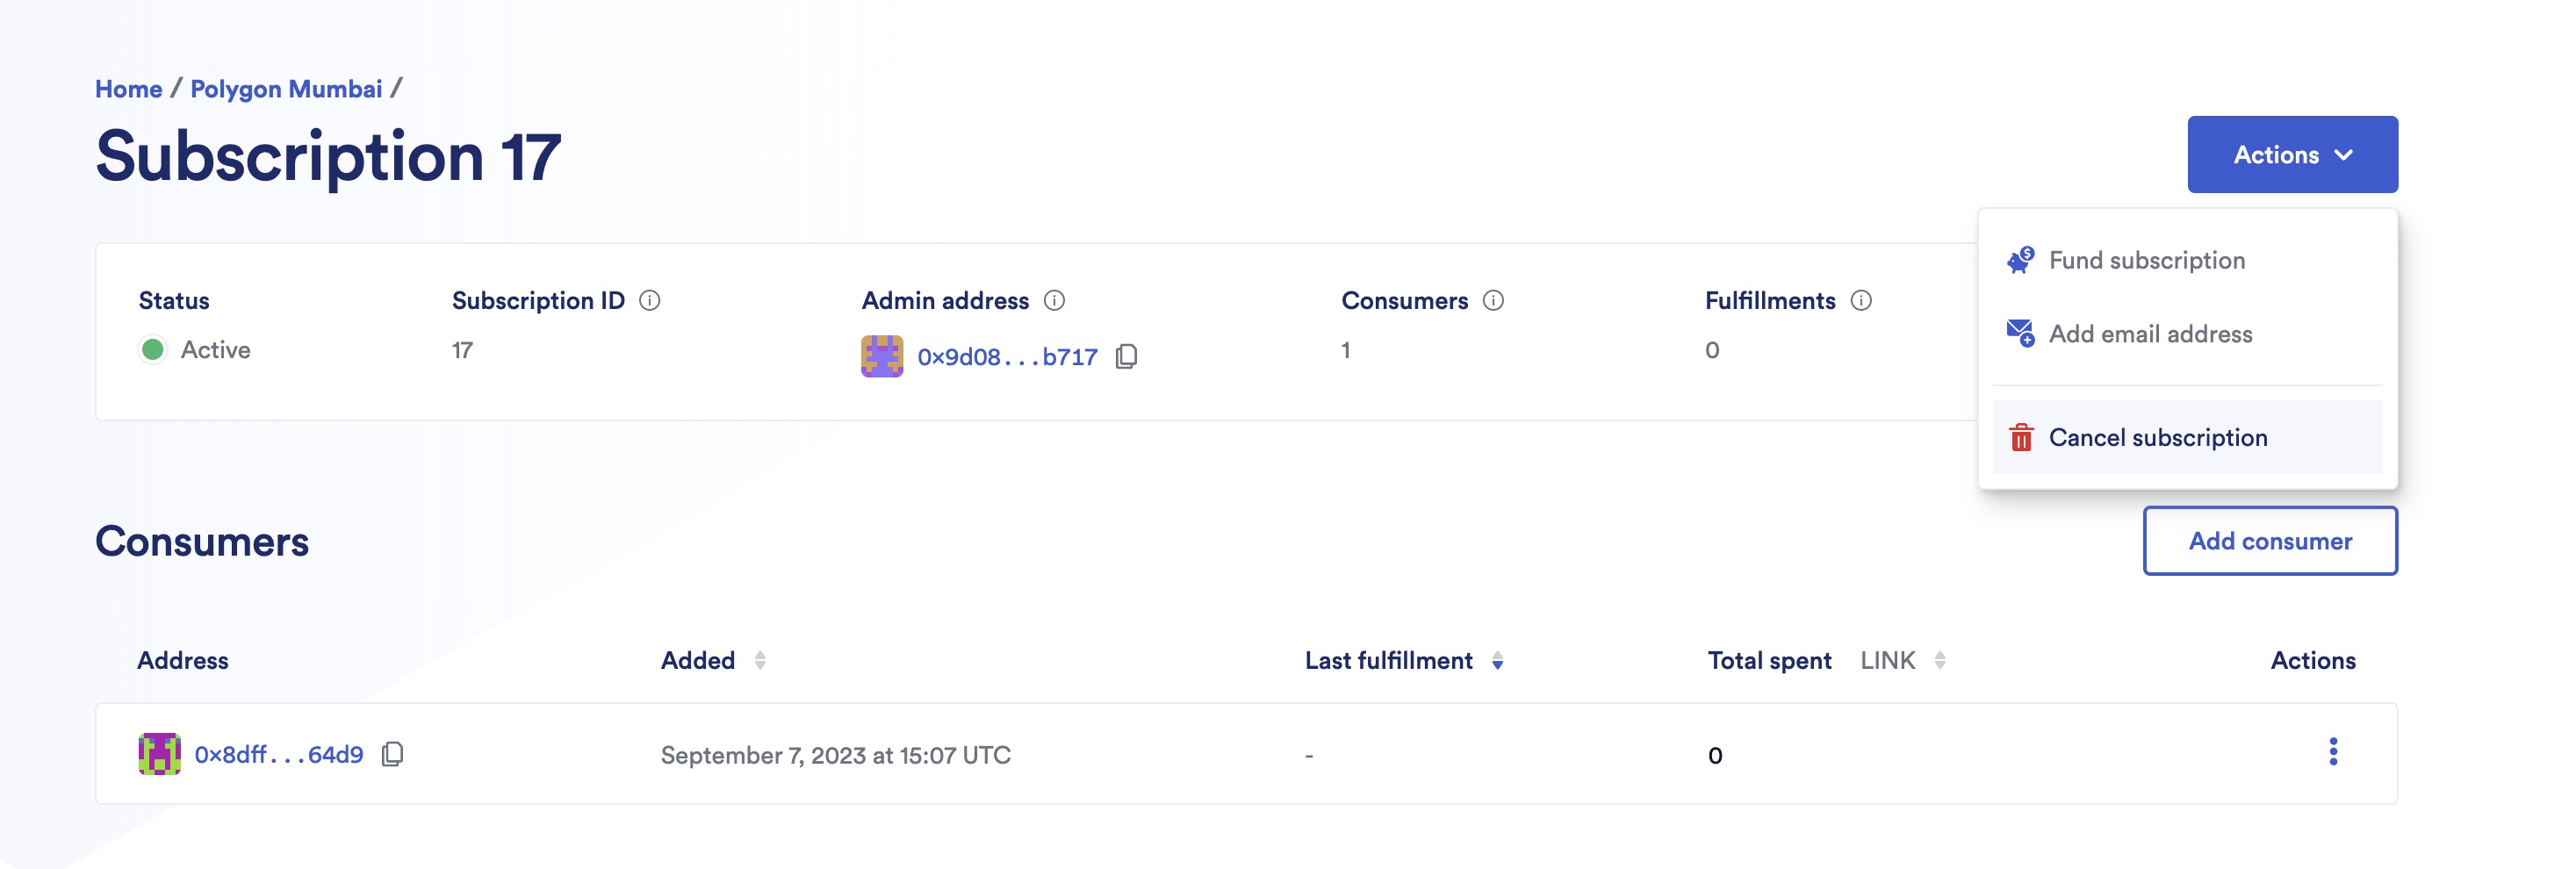
Open your subscription details, click Actions, then Cancel subscription:
-
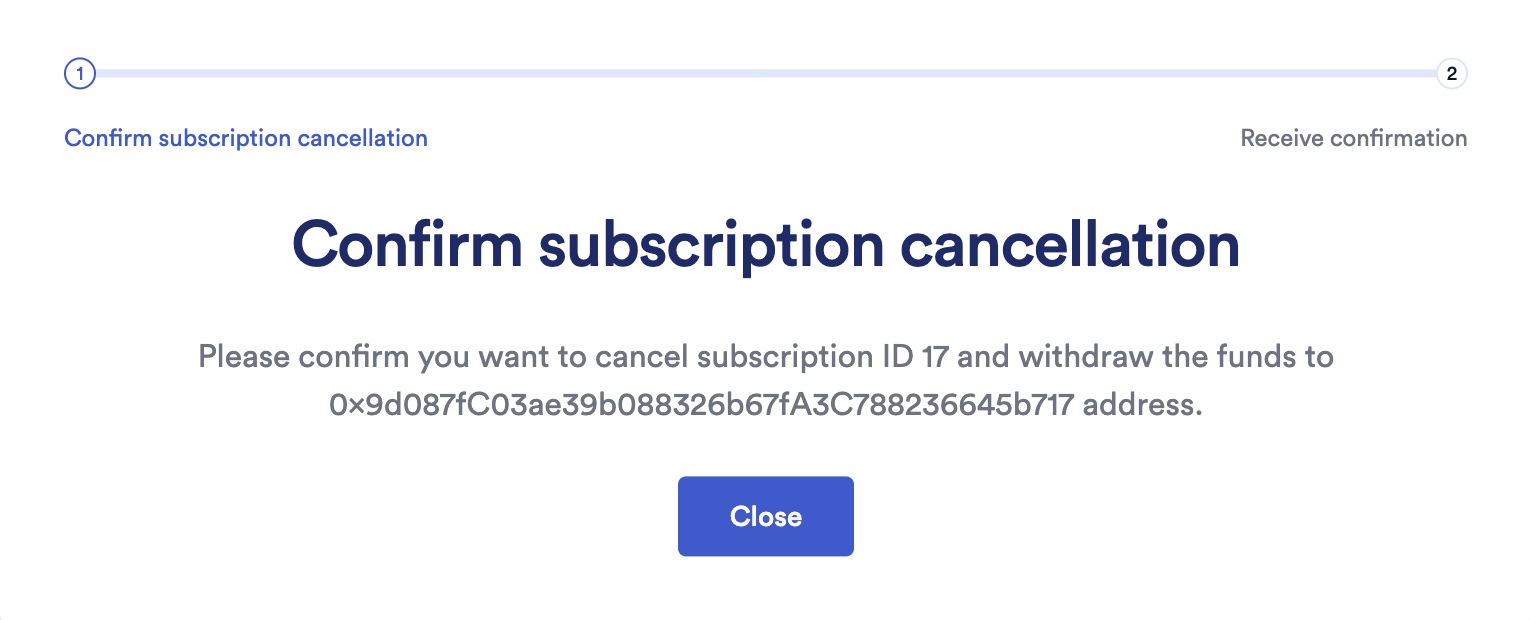
Fill in the receiver address of the remaining funds:

-
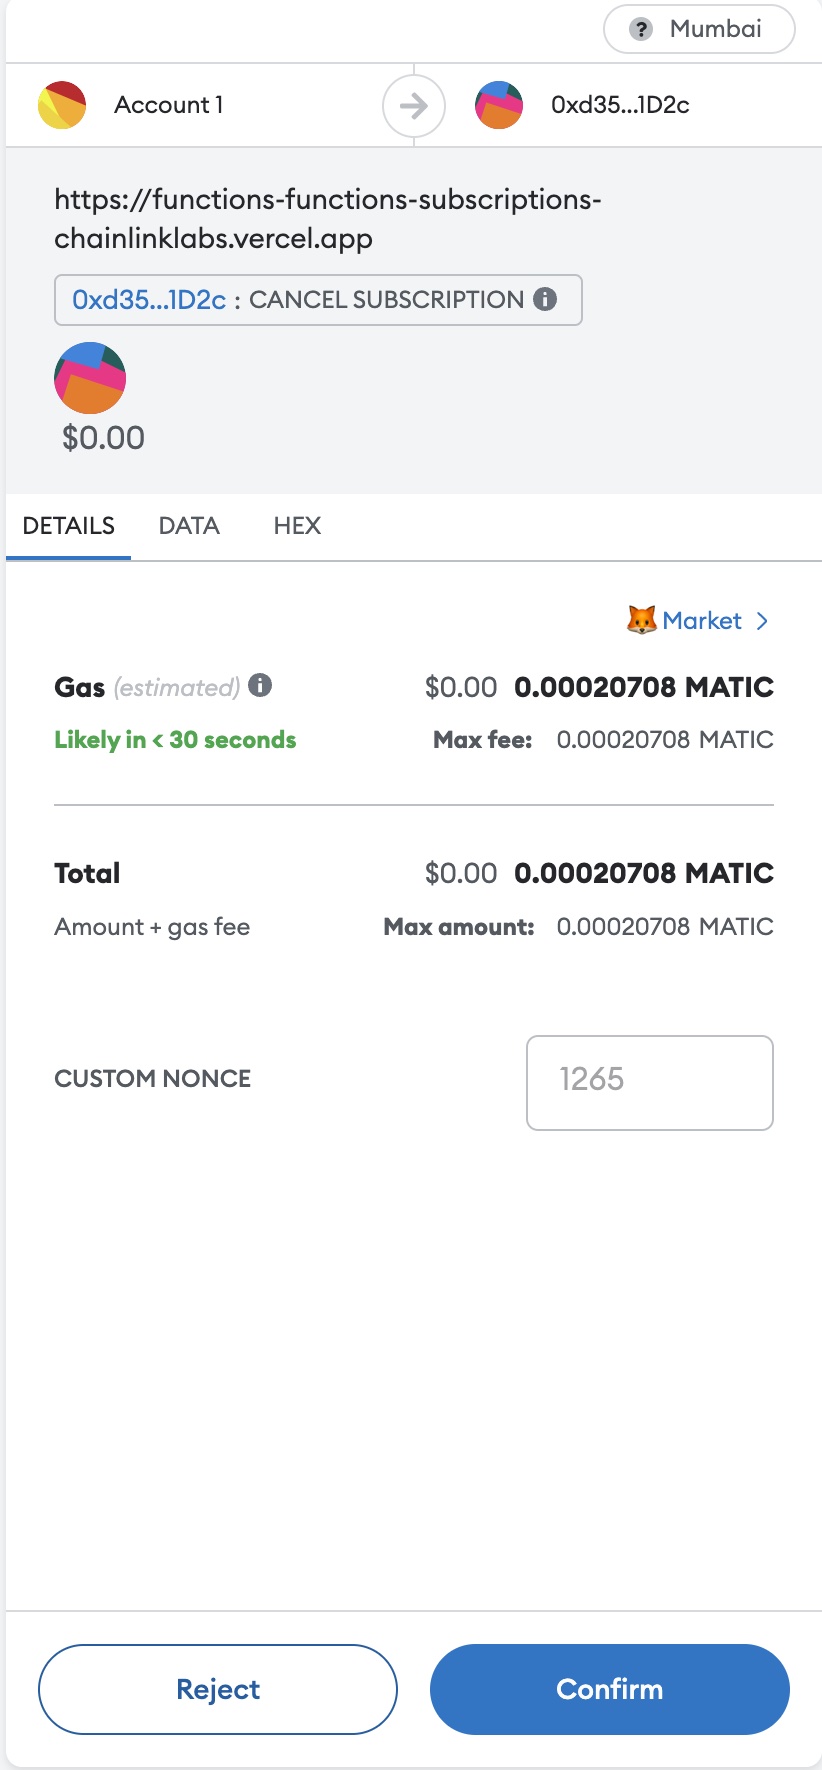
A MetaMask popup appears, and you are asked to confirm the transaction.
-
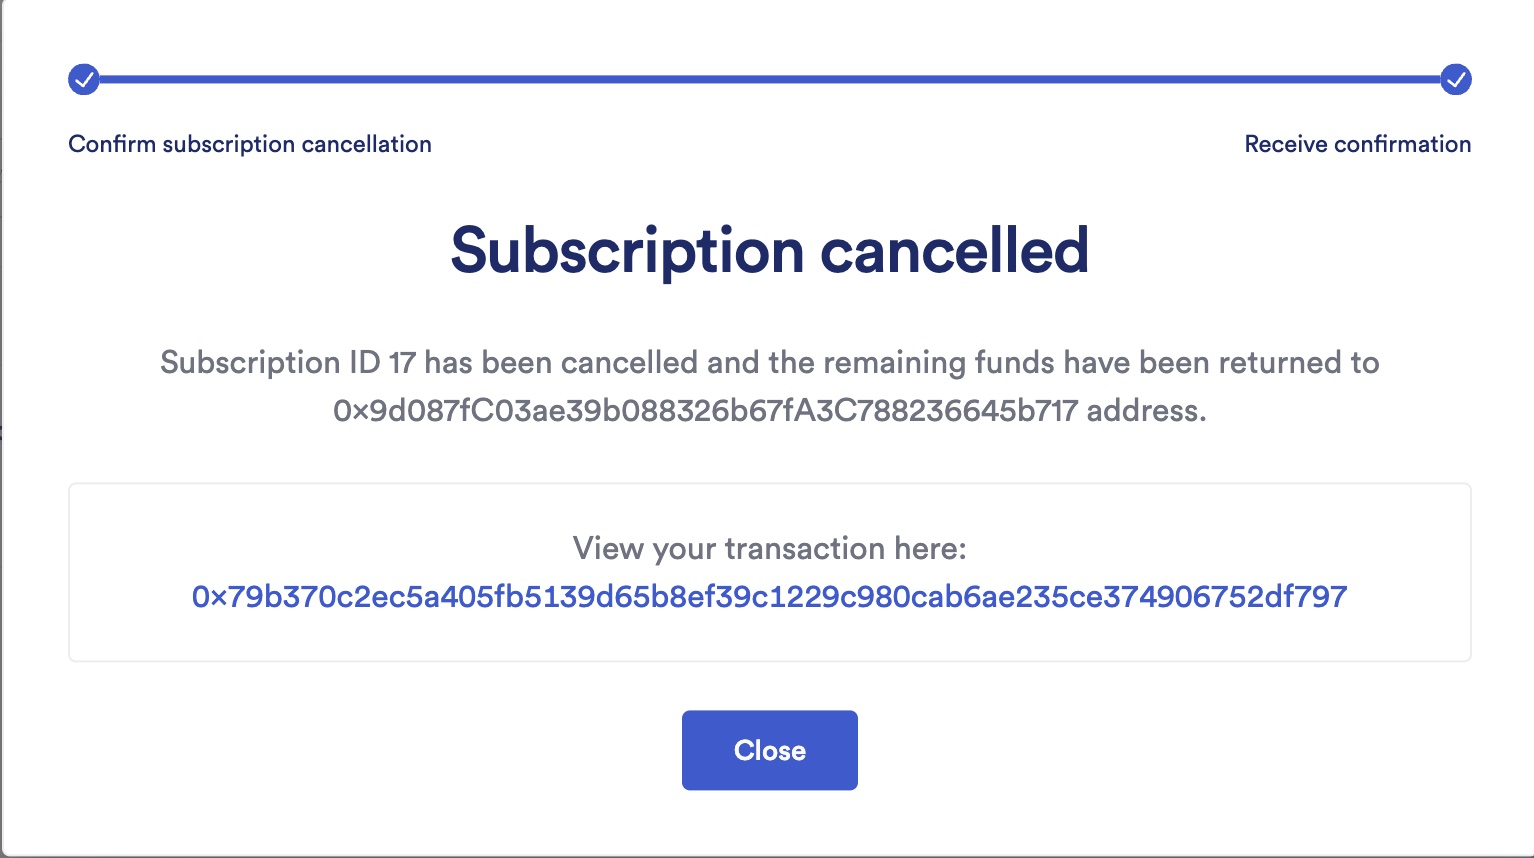
After you confirm the transaction, a confirmation screen appears:
Time out pending requests manually
The Subscription Manager provides the option to time out requests manually. You can time out requests that have been pending for longer than five minutes to unlock your subscription funds.
-
Open your subscription details and scroll to the Pending section. If a request has been pending longer than five minutes, its status displays as Time out required. Click the link within the red banner that says Time out request:

If you have multiple requests that are eligible for timeout, the Time out request link in the red banner times out all the requests at once.
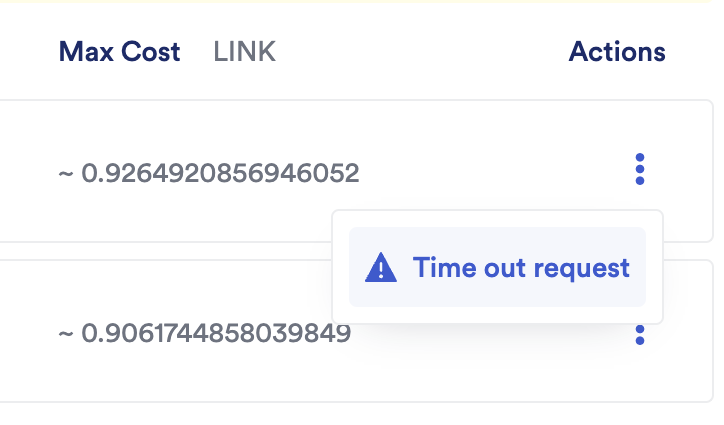
Alternatively, you can time out an individual request. Open the Actions menu for that request, and click Time out request:
-
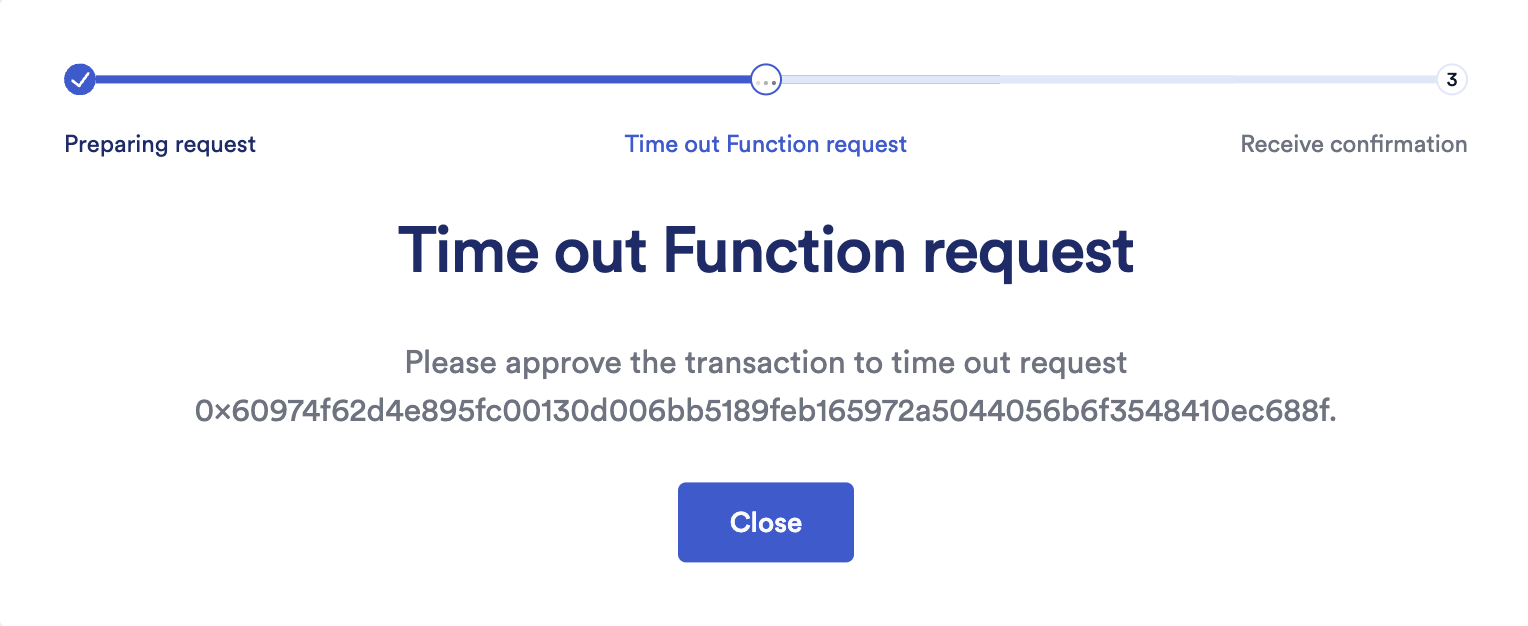
A MetaMask popup appears, and you are asked to confirm the transaction:
-
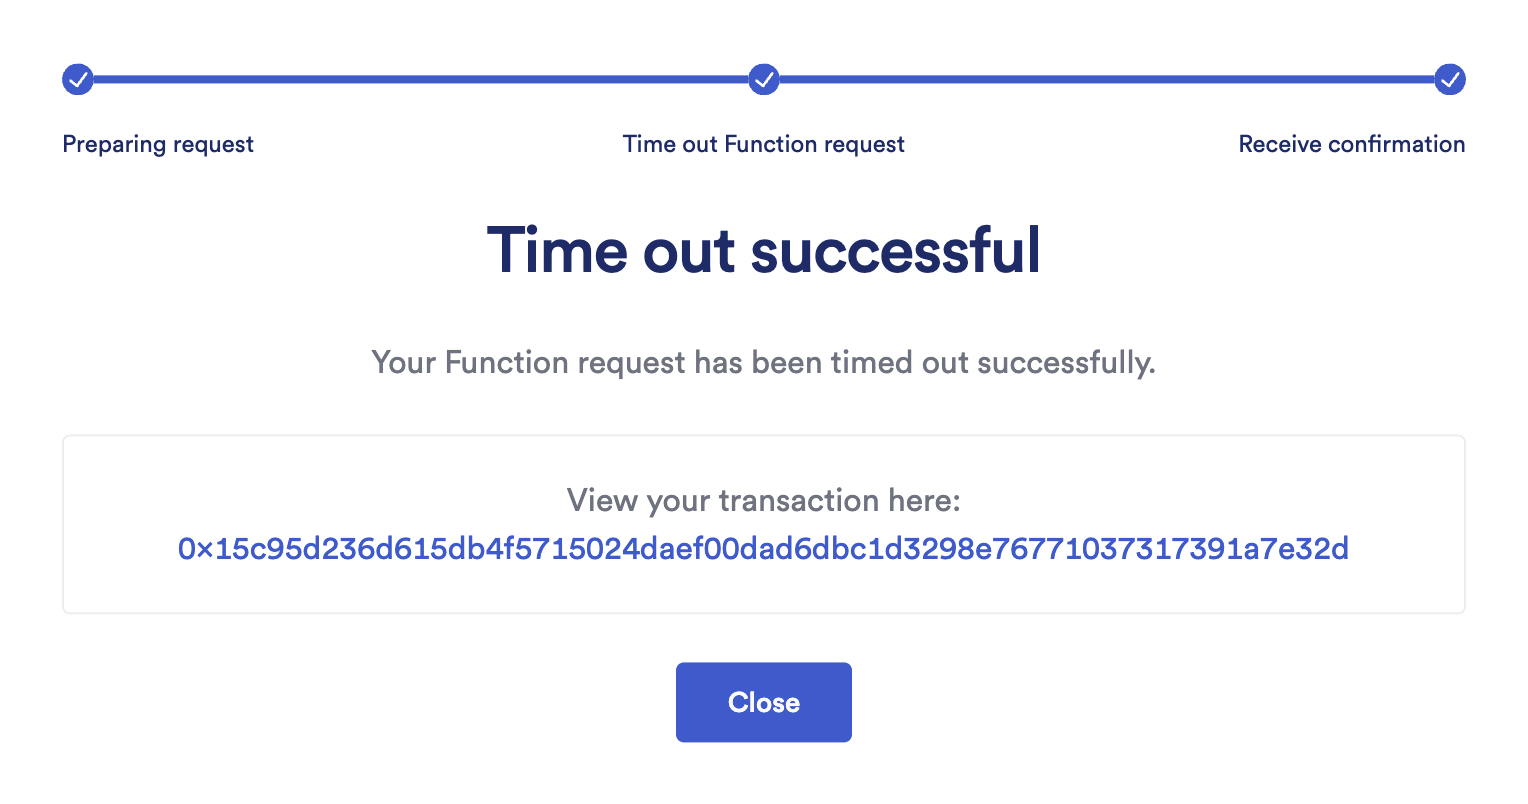
After you confirm the transaction, a confirmation screen appears:
-
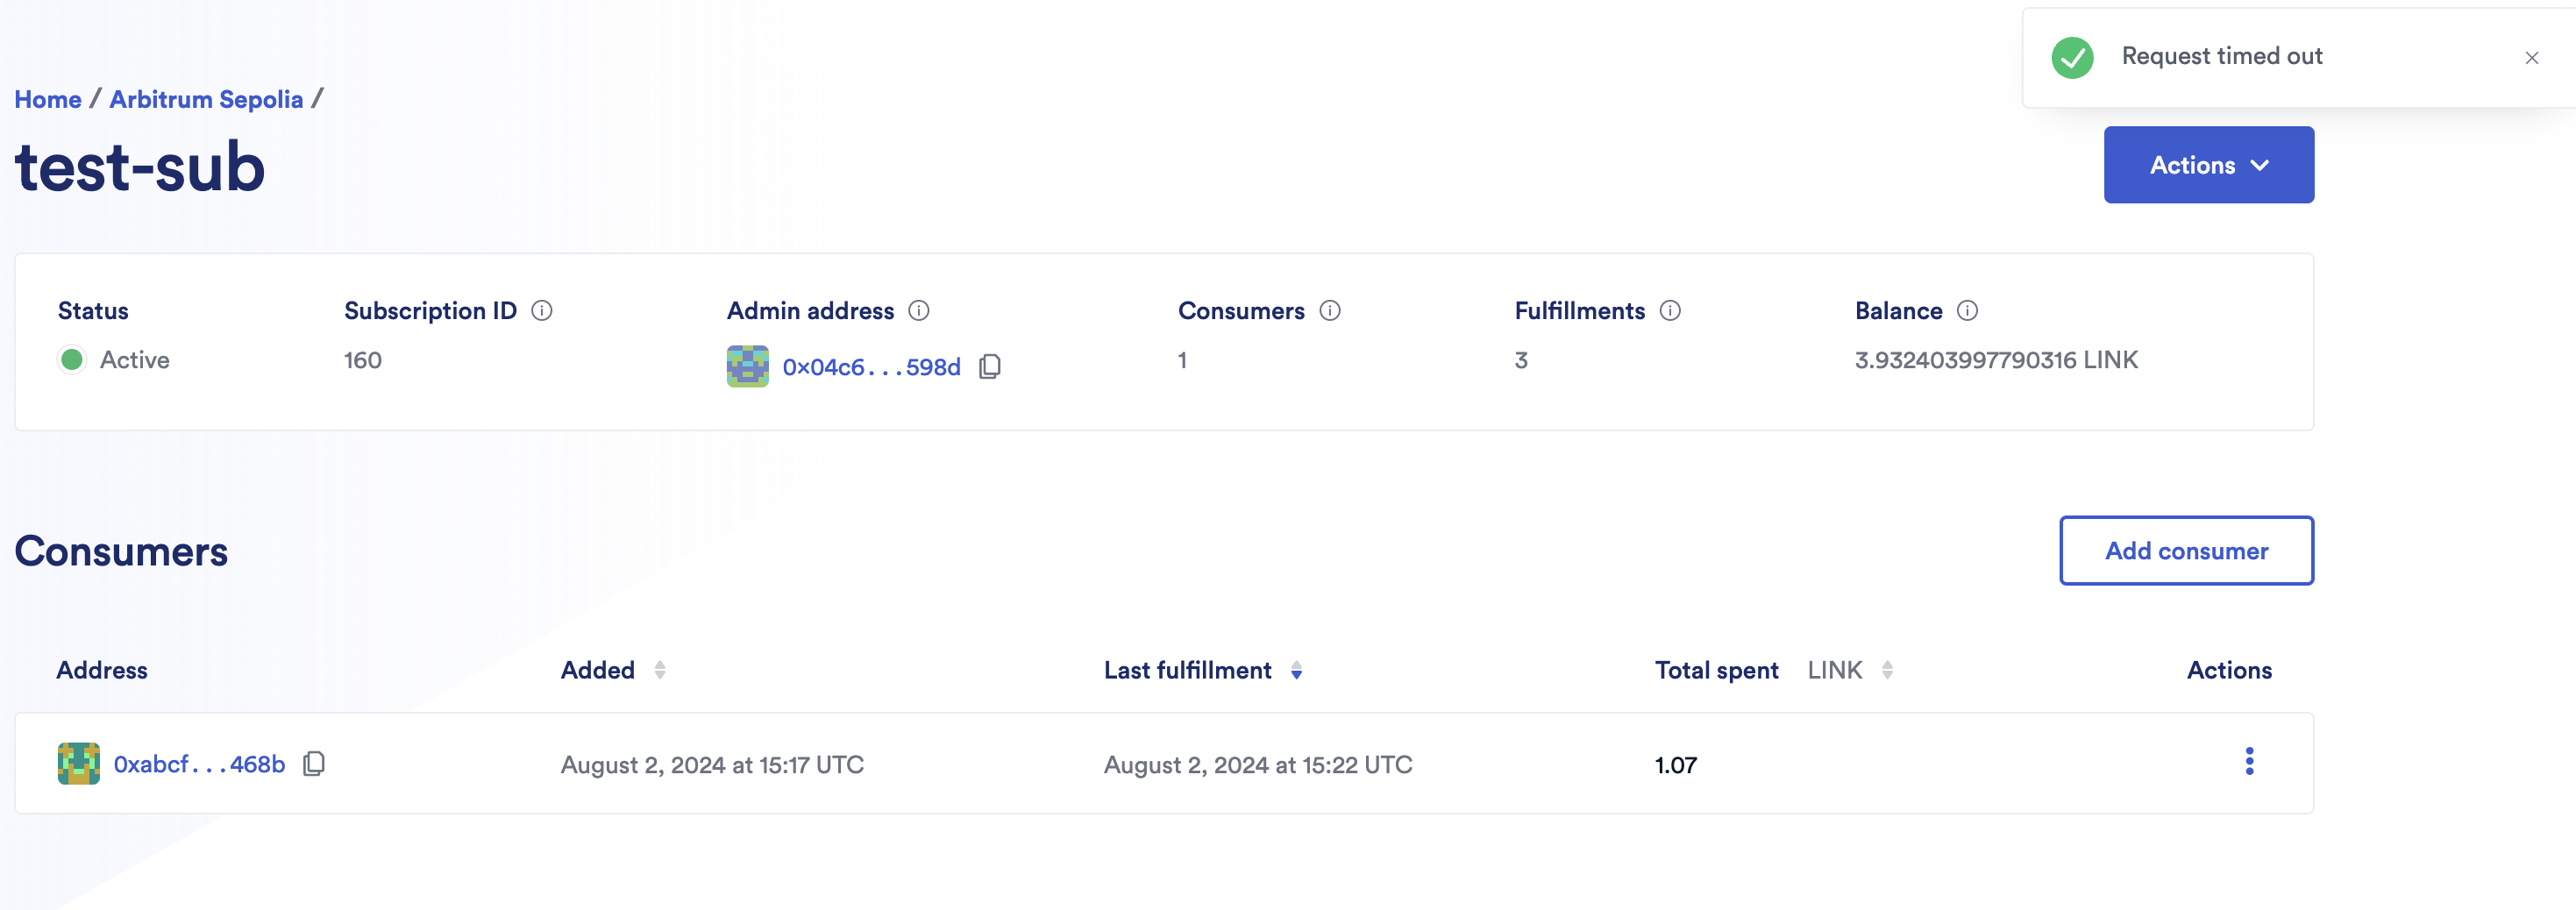
The subscription details page displays another confirmation in the upper right corner showing that the request has been timed out successfully:
-
The timed out request appears in the Failed fulfillments tab of the History section:
